Pressing Designs Onto Nylon Activewear

Swimsuits, wrestling singlets, leggings, athletic shorts- a lot of activewear is made from nylon! If you’re wanting to decorate those items, ThermoFlex® Turbo is your new best friend.

Pressing Designs Onto Nylon Activewear Banner Pic

Swimsuits, wrestling singlets, leggings, athletic shorts- a lot of activewear is made from nylon! If you’re wanting to decorate those items, ThermoFlex® Turbo is your new best friend.

Today we’re going to be showing you how to use ThermoFlex® Turbo to decorate your nylon garments however you want! Keep it simple and one color? No problem! Need some sparkle in your life? With a ThermoFlex® Turbo base, you can achieve that too!

The finished project- the swimwear decorated with ThermoFlex® Turbo and PearlFlex

Pressing Designs Onto Nylon Activewear

Skill Level: Beginner

Supplies Needed:

All the materials needed for the project- a nylon swim suit, ThermoFlex® Turbo, and PearlFlex

Let’s start by discussing our design. Don’t worry, we have a FREE cut file for you to work along side us!

Step 1: Plan and Cut Out Your Design

To create your design, first we’re going to need to talk a little bit about nylon and why we’re using ThermoFlex® Turbo.

Many HTVs won’t apply to nylon. The reason for this being is nylon is a synthetic material with a lower melting point than, say, polyester or cotton. This means you need to use an HTV that requires a lower application temperature. If you do press a higher temp HTV onto nylon, you run the risk of scorching the fabric, and no one wants that!

We like to call ThermoFlex® Turbo a universal product. With its low temperature and press time, ThermoFlex® Turbo goes on just about anything! This includes nylon. And since it goes on so quick and at such a low temp, scorching isn’t a concern. You can even get away with multiple presses! Don’t go too crazy with this however- we recommend limiting your total presses to, at the most, 3.

So now that we know A. Our bottom layer needs to be ThermoFlex® Turbo and B. We can create a design with a total of AT MOST 3 presses, we can design what’s going to go on our swimsuit!

Here we’ve got the design we’ll be pressing today. We’re using a base of White ThermoFlex® Turbo and a top layer of Green and Holo Yellow PearlFlex™! PearlFlex™ is perfect for this project because it also goes on at a lower temperature. Both ThermoFlex® Turbo and PearlFlex™ go on 300°F. We recommend not going much higher than 300°F to avoid the scorching we talked about earlier.

You may also notice we have this file two different ways- that’s because we’re going to put the left design on the shorts and the right design on the top! When we cut out the left design, it’s made to be a one color design. It will also stretch a bit better like this!

Want to try this for yourself? Click the button to download this cut file for FREE! It’s a ZIP folder with both the EPS and the Studio3 versions so not matter what cutter you’re using, you’re good to go!

You’ve got your cut file, so now it’s time to load up your cutter of choice and cut out the material. If it’s your first time using your Silhouette, check out our blog post on using a Silhouette Cameo! Cut settings on both are going to be similar- they’re both a very similar thickness. We recommend test cutting at the following settings:

Product

Cricut

Silhouette

Graphtec

ThermoFlex® Turbo,  PearlFlex™

  • Material: Iron-On
  • Pressure: Default
  • Blade: Fine-Point Blade
  • Material: Heat Transfer, Smooth
  • Blade: 2
  • Speed: 8
  • Force: 8
  • Speed: 8
  • Force: 16

We use a 45° blade.

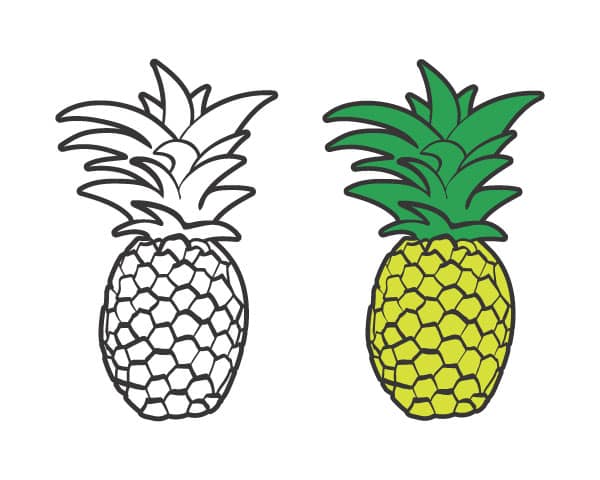
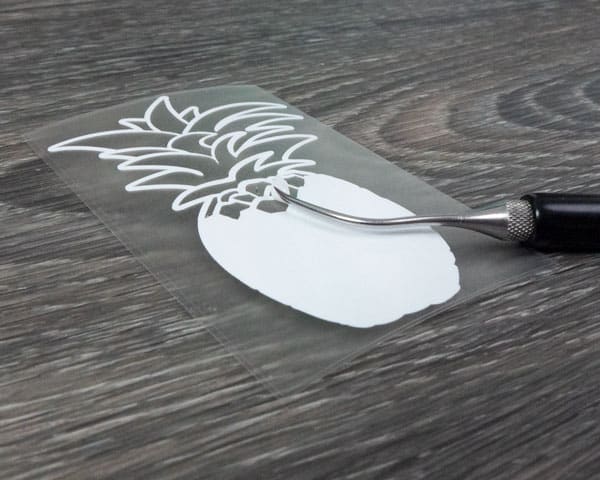
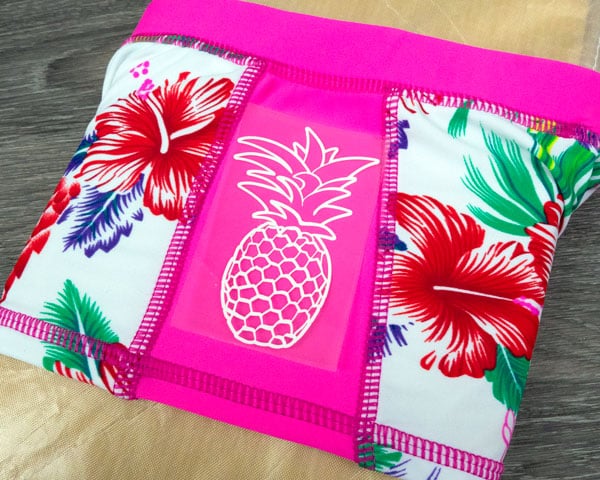
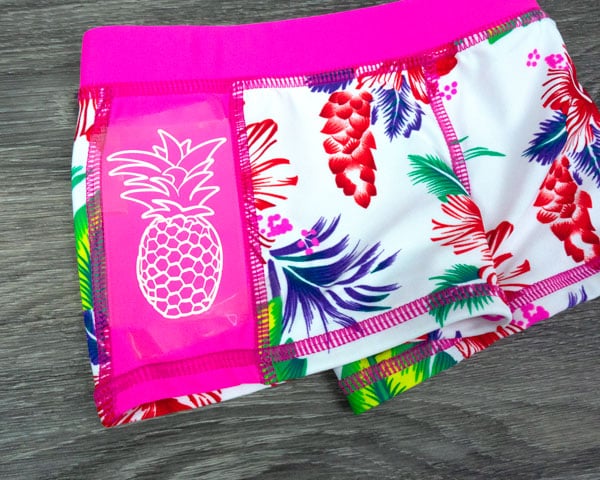
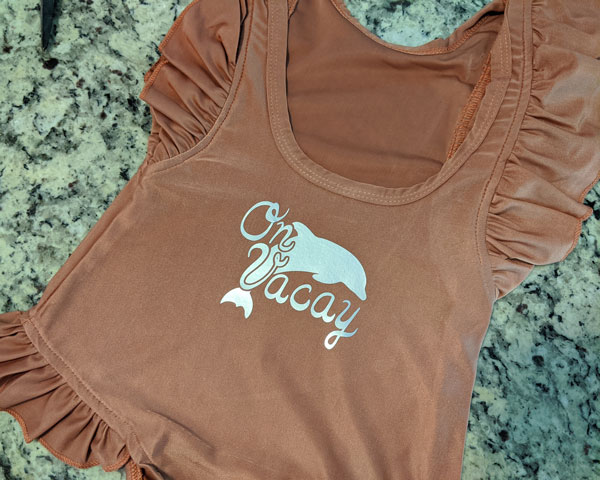
Remember, every time you cut something, ALWAYS DO A TEST CUT! These cut settings are a suggestion based on our own testing. Your blade is going to be different than ours- it might be older, newer, maybe you cut a lot of abrasive material. A lot of things factor into how a blade performs, so you may need to adjust the settings based on your test cut. Do you need to adjust your settings? Check the chart below for ideas on how to adjust!

After everything’s cut, weed it out and get ready to press!

The different HTVs after being cut and before being weeded- they are multi colored rectangles
Weeding out the details of the ThermoFlex® Turbo pineapple

Step 2: Press Your First Layer

Now that you’ve got your HTV cut and weeded like below, it’s time to press your very first layer!

ThermoFlex® Turbo before being pressed onto the swim top

The first layer on our top is the bottom one- our ThermoFlex® Turbo! Remember, ThermoFlex® Turbo needs to be our bottom layer as it’s the HTV that’s made for use on nylon. Once we have that bottom layer down, we can magically apply materials that aren’t made for nylon just fine. ThermoFlex® Turbo presses at:

Temp: 300° F

Time: 5 sec

ThermoFlex® Turbo is a warm peel. Normally, you’d then cover with a silicone sheet and repress for 10 seconds, but we’ll be getting that time in our next press!

Since there are seams on the site of these swim shorts, we use a pressing pillow to prevent pressing onto seams
The swim shorts before pressing with the pressing pillow removed

Now that we’ve got the top pressed, let’s press the shorts! Our shorts have these pink stripes on either side that are perfect to put smaller pineapples on. You always want to avoid the seams and you can do that one of two ways! On the left, we pressed with a pressing pillow. The pillow acts like a buffer for the seams on the other side of the shorts. On the right, we found a good place to fold the shorts where there would be no seams where we’re pressing. Either way works! Press for 5 seconds like above, but once you’re done cover with a silicone sheet and repress for 10 seconds.

Since our shorts are one layer, they’re now officially done! We can put them to the side while we finish up the layering on the top.

The finished swim shorts with ThermoFlex® Turbo pressed on both sides

Step 3: Press Your Second Layer

Our first layer on the top is safely pressed and our shorts are finished and looking amazing! Next let’s get that second layer pressed.

PearlFlex™ is a perfect companion to ThermoFlex® Turbo- it also applies at 300°F with a 8-10 second press time. That finishes up the second press needed for the ThermoFlex® Turbo, so they create a really great pair! PearlFlex™ is also a thinner, very shimmery material that will be absolutely eye-catching. Since we’re pressing on a swimsuit, imagine how amazing it’ll look with the sun catching all this shine!

We want to get both done in one press, so we cut the carrier at the bottom of the green layer and the top of the yellow. Doing this allows us to put down both materials at once without any overlap! If you’re pressing two materials at once, ALWAYS make sure there is no overlap of the carrier and the material or you may press the material onto the carrier.

As we mentioned earlier, press your PearlFlex™ at:

Temp: 300° F

Time: 10 sec

We want to take full advantage of PearlFlex™’s press time to make sure our ThermoFlex® Turbo is fully pressed. PearlFlex™ is a cold peel- wait until it is cool to the touch before you peel off the carrier.

A closeup of the swim top finished with PearlFlex pressed on top of ThermoFlex® Turbo

And we're done!

Take a look at your amazing swimsuit- that was super easy, wasn’t it? By knowing the materials you’re working with, you can create incredible and durable custom garments that will be the talk of the town.

The finished top with PearlFlex pressed on top of ThermoFlex® Turbo
Swim shorts after being pressed with ThermoFlex® Turbo in a pineapple design
The finished project- the swimwear decorated with ThermoFlex® Turbo and PearlFlex

Remember, this isn’t JUST for swimsuits! So much activewear is made from or has some nylon in it. With ThermoFlex® Turbo, you can decorate just about anything!

A wrestling singlet that has been decorated with ThermoFlex Turbo
ThermoFlex Turbo Brights pressed onto a frilly swimsuit that says "On Vacay"

Here we’ve got a wrestling singlet and another swimsuit but pressed with ThermoFlex® Turbo Brights! Our ThermoFlex® Turbo Brights are like our ThermoFlex® Turbo just with a metallic sheen.

Are videos more your thing? Watch our video on YouTube about pressing ThermoFlex® Turbo and DecoSparkle® onto a swimsuit!

We hope you found this tutorial helpful and that soon you’ll be pressing ALL the nylon! Please let us know what you think by messaging us on Facebook. Customized activewear using this tutorial? Tag your picture #lovewhatupress so we can see it! We might even feature it on our social media.

We hope you give this a try! We know that with this fun tutorial and our amazing line of HTV you’ll

Love what you press! ®

A pinable image for Pinterest for our Pressing Designs Onto Nylon Activewear blog post

Like this blog post? Share it with friends!

Subscribe to our Mailing List

Want to be in the know about our latest products and colors? Sign up for our mailing list!

Follow us on all your favorite social media!