Pressing a Design Onto Wood
Heat transfer vinyl isn’t just for fabrics anymore! With a little bit of gumption and know-how, you CAN press HTV on wood!

Heat transfer vinyl isn’t just for fabrics anymore!
Pillows, kitchen towels, hats, capes, dresses- the list goes on and on. But what about wood? Turns out, with a little bit of gumption and know-how, you CAN press HTV on wood!
Before we get into the how-to, please note it is VERY important that you test before you start a large project. This is more an art than a science as HTV is made for garments. We recommend you know your way around HTV before attempting this project- you need to know what properly adhered HTV looks like and be able to guesstimate how much additional time and pressure is needed.
That may sound a little intimating, but once you get the hang of it, it’s a fantastic looking project!
Pressing a Design Onto Wood
Skill Level: Difficult
Supplies Needed:
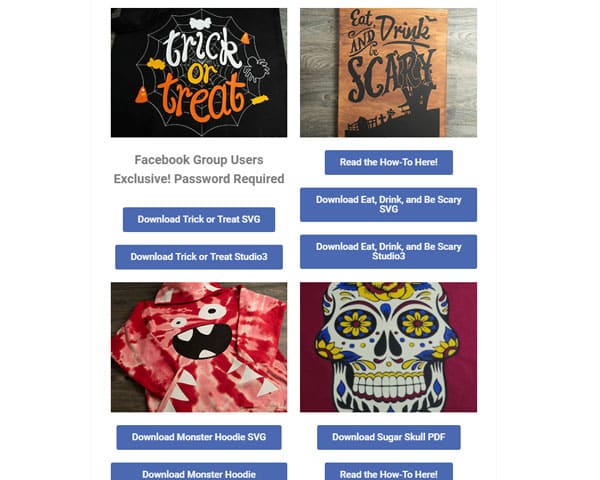
- Cut File (Get this one for free here!)
- ThermoFlex Turbo®
- Wood
- Acrylic Paint (Craft Paint)
- Baby Wipes
- Sandpaper
Step 1: Stain Your Wood
Unless you like the look of untreated wood, it’s time to stain our slab of wood!
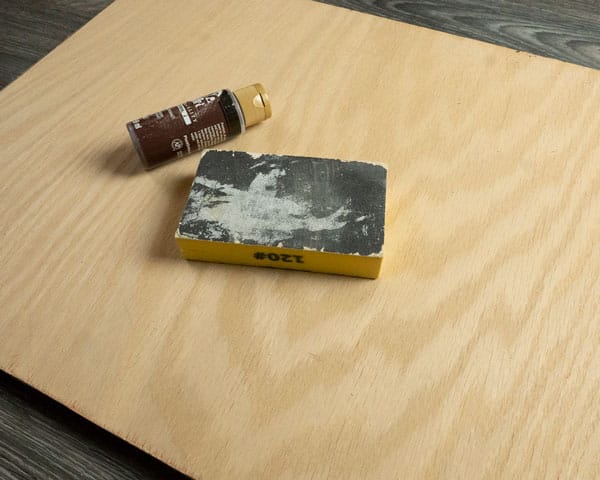
The piece of wood we have for this project measures 20″x 15.5″. For your first project, we recommend you start a little smaller while you get the hang of pressing on wood. Sand off any rough edges before staining.
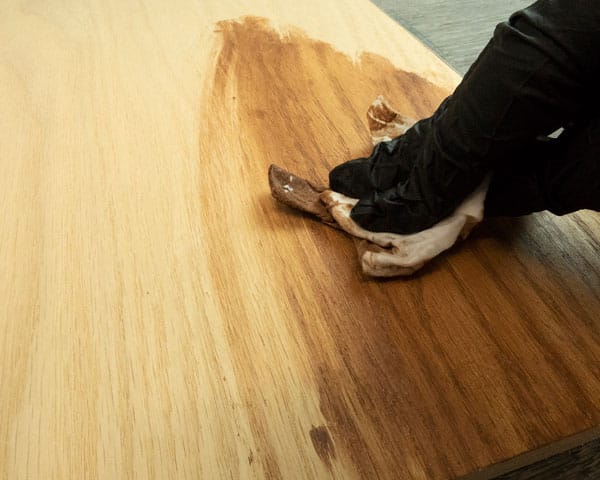
As we did in our blog post ‘Creating a Reverse Canvas’, we’re going to stain our wood using a handy, cheap technique- staining with baby wipes! Baby wipes and acrylic paint work fabulously together to create a stained look in the wood. Simply dab your baby wipe in the paint and wipe onto the wood.
We did two coats for our stain then added two coats to the edges. This way of staining dries VERY fast, but while you’re waiting between coats, go ahead and start on step 2!
Bonus hint- it’s a good idea to go darker on the edges so they don’t grab attention away from the design.
Step 2: Cut Out Your Material
While your coats are drying, time to cut your material! We grabbed ThermoFlex Turbo® for this project due to its low temp and quick press time. We did find we needed to increase total press time for this project, but we’ll go into that a little bit later!
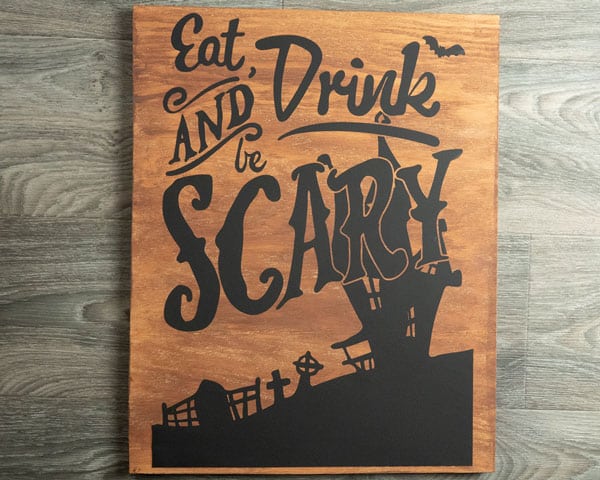
We’ll be using the cut file named “Eat, Drink, and Be Scary” in our download section. Remember to measure your wood and cut your file accordingly- give yourself some breathing room on the sides! You’re likely to overpress your vinyl if you try to get it right up to the edge. It’s tricky to get the right pressure on those edge bits so I’d recommend avoiding it.
Got your vinyl cut? Awesome! Let’s press!
Step 3: Press Your Design
Temp: 270° F
Time: 10 sec
Now, the press time is DIFFERENT than if you were pressing a shirt. Why? We found it helps the adhesion. And even then, we still had to repress for two additional 5 second presses to get the edges- pressure can be trickier when pressing wood. Let’s take a little aside and talk about pressure! It’s important to press your wood with lower pressure than you’d usually use. That’s because you don’t want to damage the wood you’re pressing on. By lowering the pressure, you do need to increase your press time and really need to play this one by ear. Now, what should you press with- Cricut EasyPress or your heat press? We’ve found it really depends on the design! If you are pressing smaller design that can be FULLY covered by the EasyPress, by all means go ahead! We’ve done a few tests with smaller designs and it worked lovely. However, we tried this design with the EasyPress (remember, 15.5″ x20″!) and it did NOT work in our favor.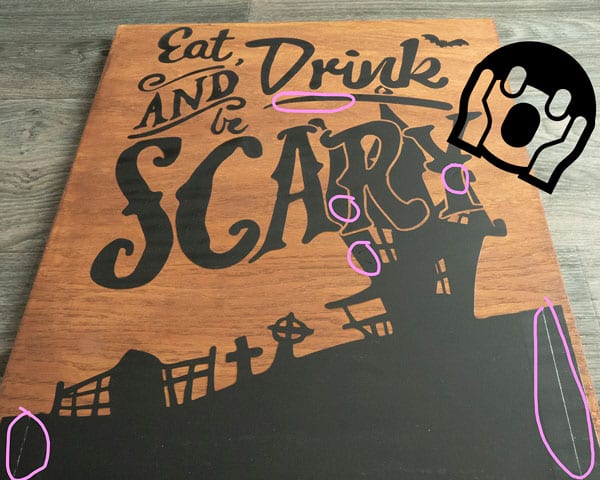
Because of its size, we had to make multiple presses. Because of the overlap, this lead to overpressing in some areas. This overpressing left a lot of marks on our material and the glue came out of the sides in many places. Even with parts overpressed, it didn’t properly adhere in others. It’s harder to get uniform pressure on something you’re making multiple presses on in different places!
However, pressing with a press worked much better as you’ll see in a second! Please note- we press with a swing press, not a clamshell.
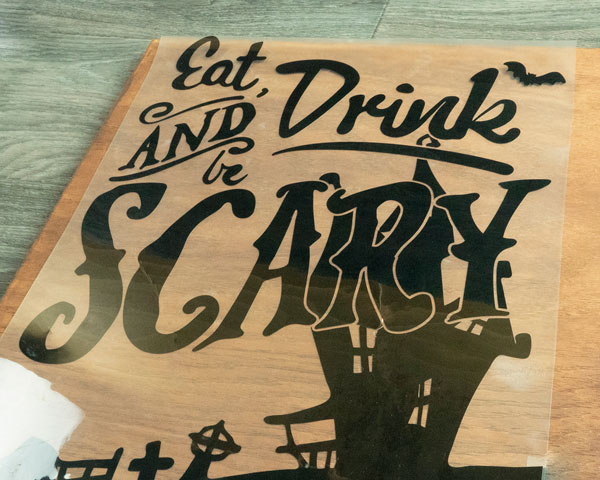
Place your design down and get it where you’d like it. You’ll have the most luck getting it as center as possible. Avoid putting the vinyl up to the edge of the wood.
Once you’ve pressed, let it cool then peel off the carrier. Peel off carefully- remember we’ve turned down the pressure so parts may not have adhered fully. For our press, we found it had mostly adhered but needed a little extra time- our edges weren’t adhered as well as we would have liked. So we pressed for 10 extra seconds- 5 seconds placing the back edge closer to the center of the press and 5 seconds focusing on the top. This worked perfectly!
Remember to take it slow, you’ll get it!
And we’re finished! This project will make you want to experiment with all sorts of material- we’ve found ThermoFlex® Plus, GlitterFlex® Ultra, and DecoSparkle™ work well!
Have you tried these products yet? We’d love to send you a free sample! You can receive up to 3 samples at a time- why don’t you request these three products to try for yourself?
Questions? Comments? Message us over on Facebook and we’re happy to help! If you use this file and you upload pictures, please tag them #lovewhatupress! We always love seeing what you make with our products.
We hope this has been helpful and informative. As always,
Love what you press! ®
Like this blog post? Share it with friends!
Subscribe to our Mailing List
Want to be in the know about our latest products and colors? Sign up for our mailing list!