How to Sublimate in One Step
Want to make sublimation even easier than it was before? Learn how to do sublimation in one step, no sublimation paper required!

Sublimation is an incredible process that allows you to take detailed pictures and put them on your garments. However, it can feel a little daunting at first- you have to make sure you have HTV that’s sublimatable, you have to get the sublimation printer, and remember to flip it. It can be a lot for a first-timer! That’s why in this blog post, we’re going to show you how to use our one-step sublimation materials. Take a look at the detail you can get with these products!
Excited? Ready to get started? Let’s go!
How to Sublimate In One Step
Skill Level: Easy
Supplies Needed:
- Sublimation material you can print on (Subli-Flock®, Subli-Print® Thin, and most colors of SubliFlex®)
- Shirt or other cloth material
- Sublimation Printer
- Scissors
- Image You’d Like to Sublimate
Step 1: Print Out Your Design On Your Material
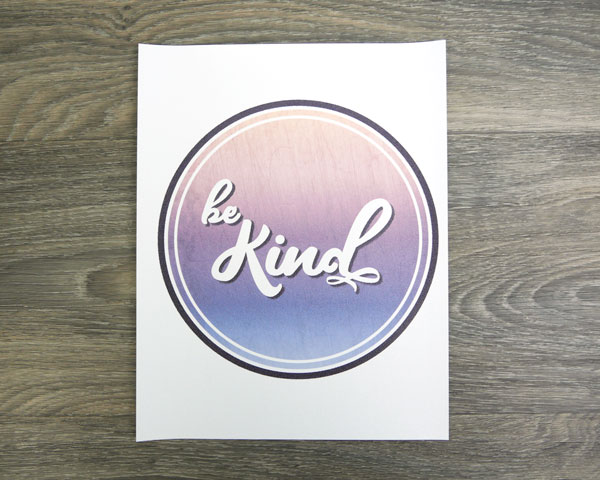
With most sublimation, you start by printing your design out on sublimation paper. If you wish to sublimate on sublimatable HTV that’s exactly how you’d start! We even have a blog post about it here. But with certain products made to be printed on, we can skip this step completely and print DIRECTLY onto your material! Today we’re going to be using Glitter White SubliFlex® but that’s not the only product we offer that can be printed on directly. Most of our other SubliFlex® colors can be printed on as can Subli-Print® Thin and Subli-Flock®.
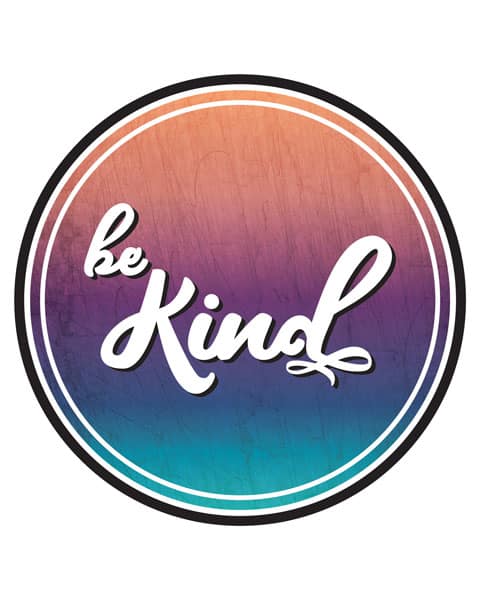
The first thing you need to do is to pick your image. We certainly can’t sublimate without a design! With sublimation the options are limitless. This can be family photos, your child’s favorite characters, complicated designs with many colors, designs with textures, etc. To make it simple, we’re going to provide you with a simple design. This is free so feel free to download it and follow along using the same design.
Unlike when you’re printing to sublimate onto something, you’re going to want to print right reading. Do NOT reverse the image. You’re also going to want to print on the sublimatable side of the material, not the adhesive side. Every printer is different, so load in your material so it prints correctly. The inks will look dull right now- don’t worry and trust the process! It looks dull because the inks have not been activated. They get activated when we press and get a lot brighter.
Step 2: Cut Out Your Design
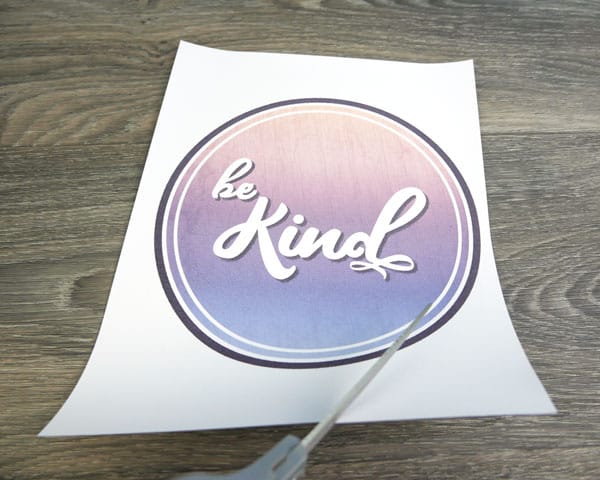
Now that you’ve got your design printed, now it’s time to cut it out. It is possible to use registration marks and cut this material with a cutter, but to keep this simple we’re going to use the most simple method- scissors! Take your scissors and carefully cut along the edge of the design. We recommend doing this before removing the liner, just because we find it easier to cut something with a stiff backing. If you’re cutting soon after printing, be careful not to touch the design, as you could smudge the inks.
Once you’re done cutting, it’s time to remove the liner! We took this picture before cutting to get a good look at the material being peeled back from the liner. You can see the adhesive side of the SubliFlex®– it’s got a glossy sheen to it. You can also see the clear plastic carrier beneath it. Make sure you remove the material from the carrier before pressings or your material won’t adhere to the shirt!
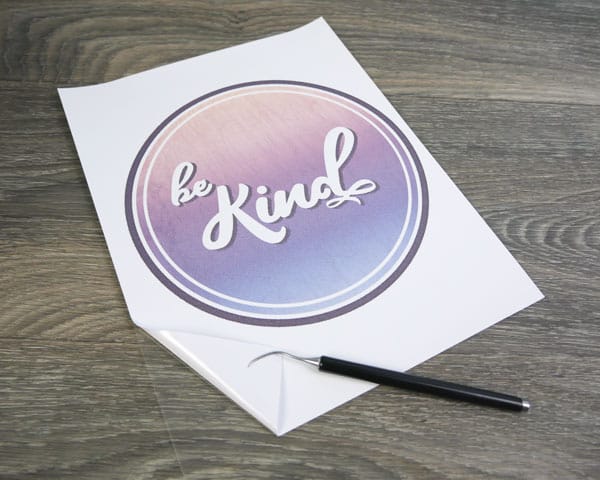
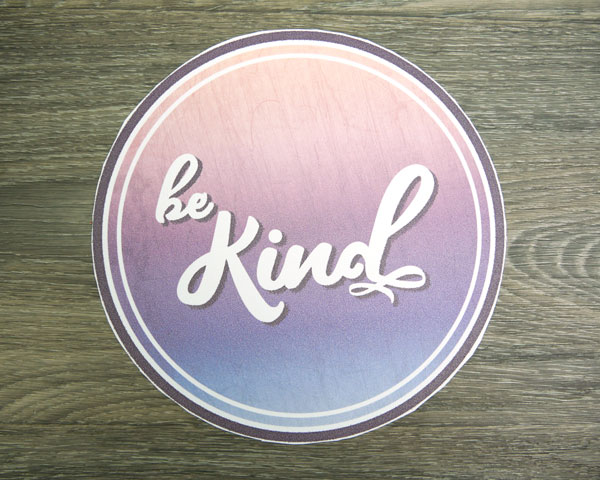
Now that we’ve got our design cut out and off the carrier, we’re ready to press!
Step 3: Press Your Vinyl
With our one-step sublimation materials, you can sublimate and press all in one step! Please note, if you’re pressing on a heat-sensitive garment, we recommend sublimating first then pressing. But we’re just pressing onto a white cotton shirt, so we can get this done in one step! For SubliFlex®, the press settings are
Temp: 375° F
Time: 30 sec
And you’re done! Wasn’t that easy? After sublimation you can really see how much the colors brightened up!
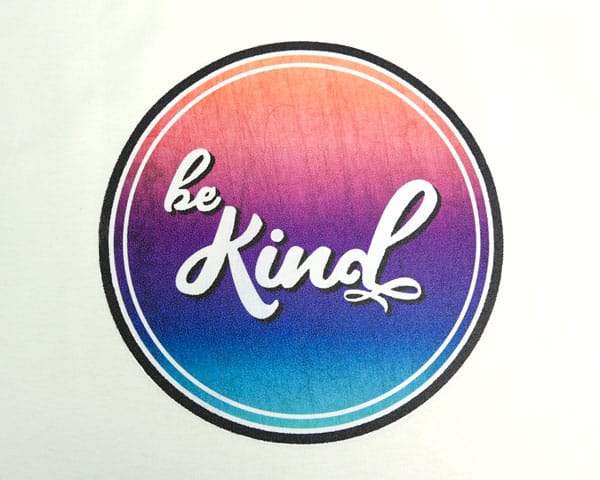
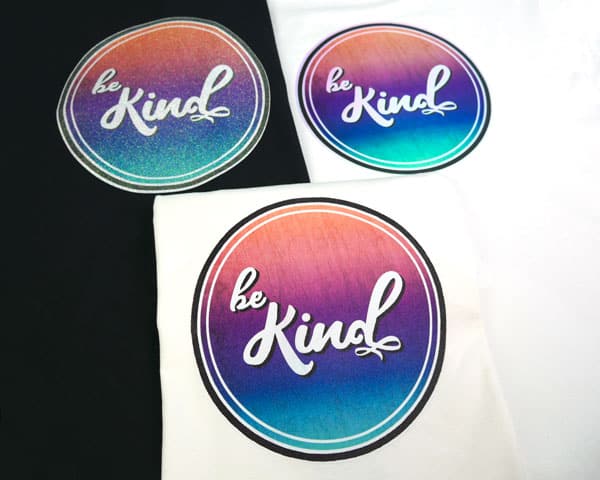
We have other materials that can be sublimated as well! We have a blog post on that subject called How to Sublimate Heat Transfer Vinyl. You can read it by clicking here! We used the same design on that post as well so we could compare sublimation on three different product lines- GlitterFlex® Ultra (left), DecoFilm® Brilliant Chameleon (right), and SubliFlex® (bottom).
Questions? Comments? Message us over on Facebook, Instagram, or right here on the website and we’re happy to help! If you use this file and you upload pictures, please tag them #lovewhatupress! We always love seeing what you make with our products.
We hope this has been helpful and informative. As always,

Like this blog post? Share it with friends!
Subscribe to our Mailing List
Want to be in the know about our latest products and colors? Sign up for our mailing list!


