Heat transfer vinyl isn’t just for shirts! It can go on just about anything (as long as it can be heated up!)- pillows, capes, bags, shoes, hats, and canvas!
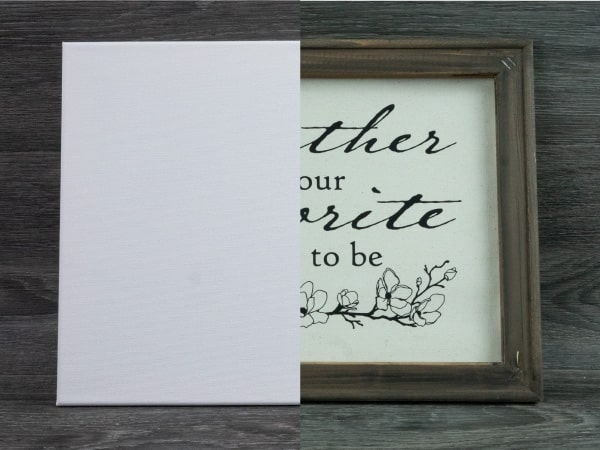
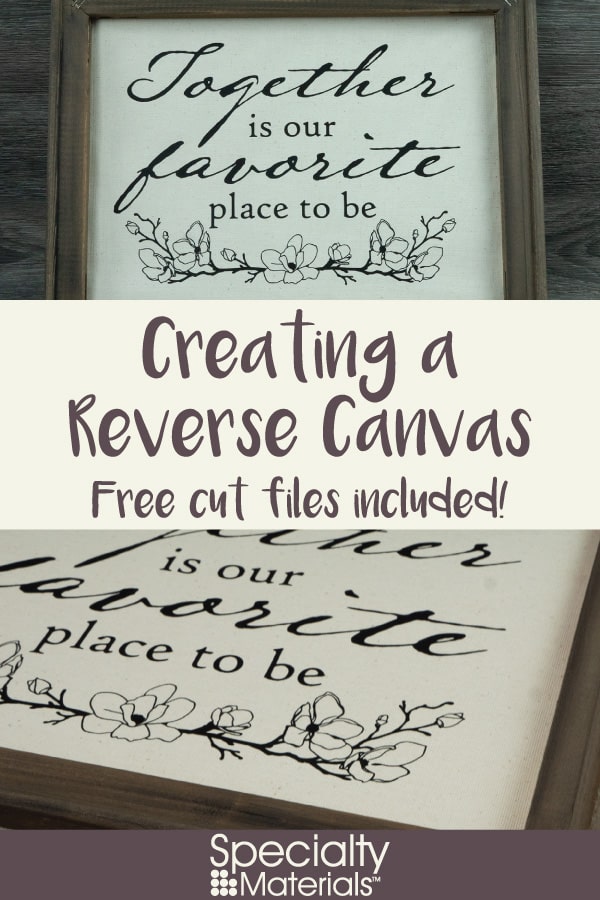
Today, we’ll be creating a reverse canvas. A reverse canvas is when you take canvas off of its internal frame and then restaple the canvas back on. This allows you to get canvas AND a frame all in one package! It’s a simple process that allows you to create custom art using heat transfer vinyl. Let’s get started!
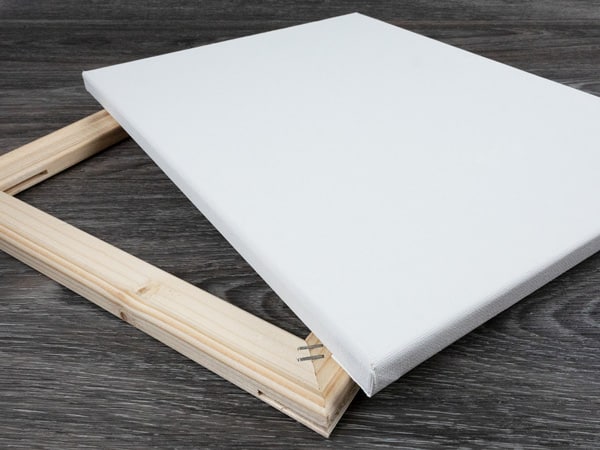
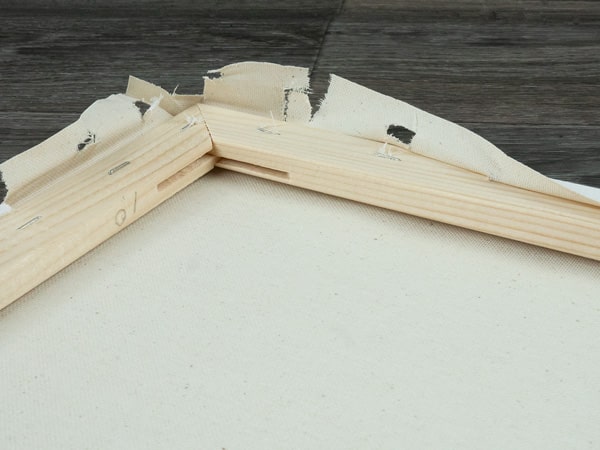
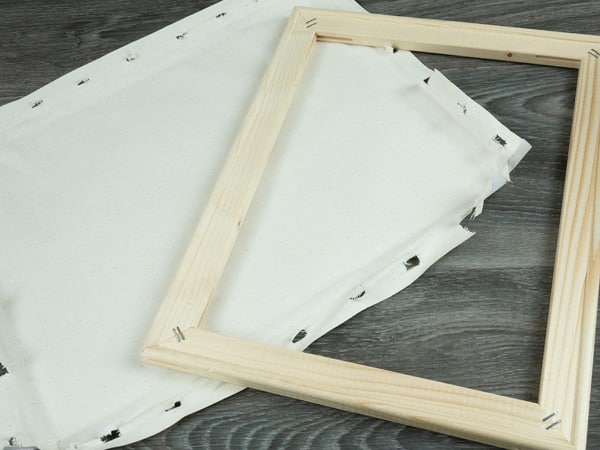
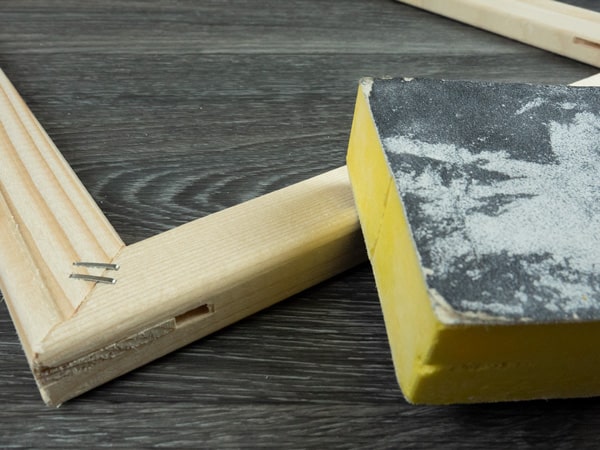
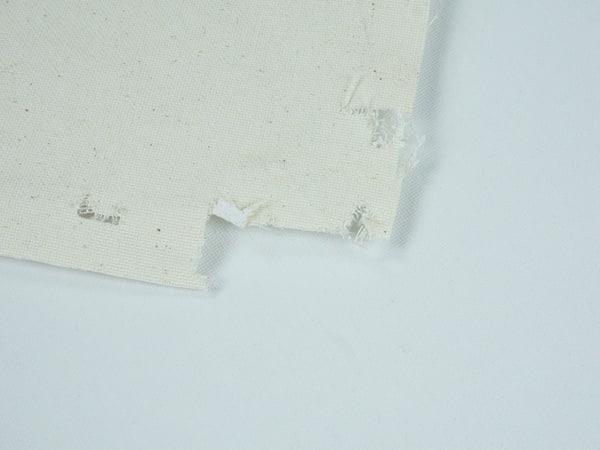
The first thing we’re going to want to do here is go ahead and get that canvas off its interior wood frame. Don’t worry about being too messy here- we’re going to staple the canvas back on later so it doesn’t really matter if you remove the staples or not.
Canvas successfully removed! Put the canvas aside- it’s time to work on our frame.
Step 2: Sand and Stain the Frame
Time to get that frame looking gorgeous! We started by giving our frame a light sanding- our frame was in pretty good condition but it helps to remove some of the small imperfections in the wood. You can skip this step if your frame looks like it’s in good condition.
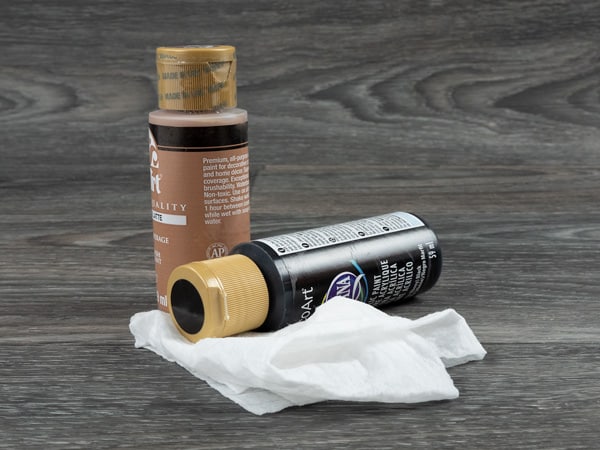
Next it’s time for the stain! To make this easy as possible, we’re using the baby wipe method. This is an insanely simple way to stain cheaper woods- you only need acrylic paint and baby wipes! If you like crafting you probably already have these on hand. How great is that?
For the first round of stain, we mixed a little brown we had on hand with a little black to get a darker colored stain. Simply dab the paint on the baby wipe and wipe it onto the frame. The wood grain absorbs the paint and it dries super quick. We used gloves on our hands but that was to keep clean up to a minimum- it’s not necessary if you don’t mind a little paint!
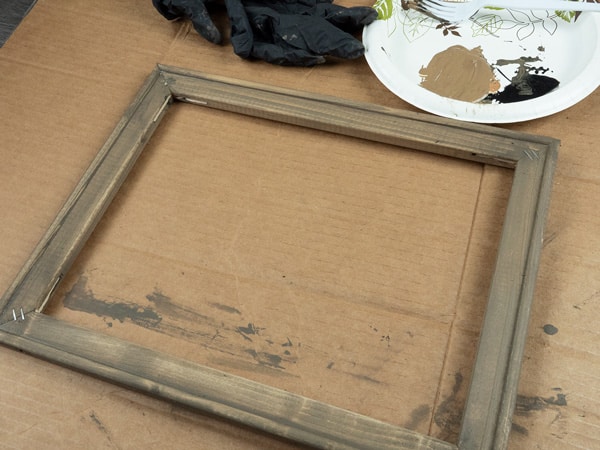
We ended up doing three coats- two of the brown-black mixture and a light use of black to give it a little bit more texture. Our frame’s looking good, so let’s return to our canvas!
We have it both in SVG and Studio3 file types, so you can easily use it with your craft cutters. Cut the file out in the material of your choice and get it weeded. It has some smaller details to weed out of the flowers but looks fantastic after you’re done! We used Black ThermoFlex® Plus- it looks incredible on canvas. If you haven’t tried ThermoFlex® Plus yet, head over here and request a sample here!
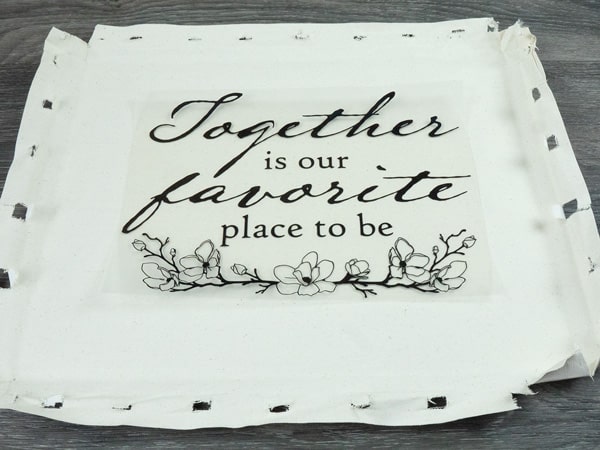
Once your design is weeded, time to place it on our canvas! We decided to press on the underside of the canvas- many canvases come pre-primed so the top side is a bright white. The underside was a nice off white and had a stronger looking texture, which we preferred. ThermoFlex® Plus presses well on both primed and unprimed sides of the canvas so it’s more personal preference.
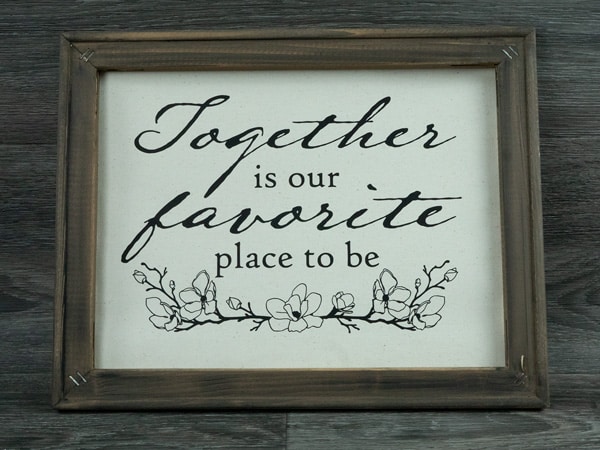
Now get your design where you’d like it and press it! For a design like this, right smack dab in the center looks best. Remember, pressing for ThermoFlex® Plus is 320°-330° F for 15 seconds at medium, even pressure.
Looking good! We’re in the final stretch here people!
Step 4: Staple Your Canvas to Your Frame
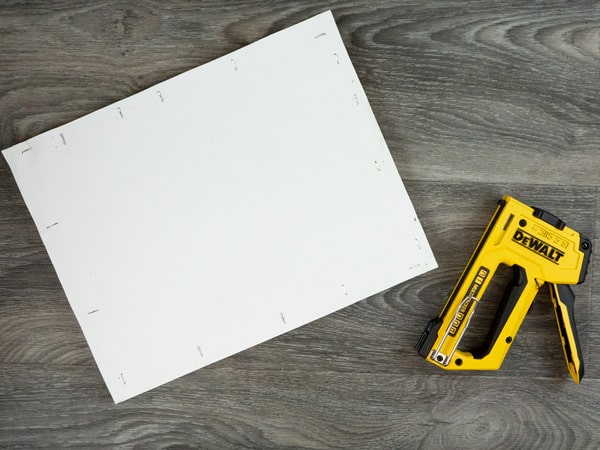
It’s time to get that canvas stapled onto our frame! Grab your frame, staple gun, pen, and scissors.
To make placement easier, we started by laying the frame on top of the canvas. We figured out where we wanted the frame and traced around it. This gives us a path to cut which will ensure things are where we want them when we staple. Cut off your excess and flip that frame over.
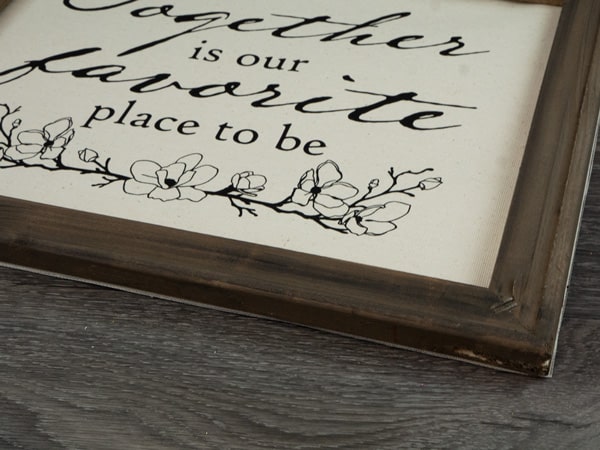
Line up your edges to the frame and start stapling! This method will leave some visible edges but they can easily be trimmed off once the canvas is stapled on. If you didn’t remove your staples, try to avoid stapling on top of them or the staples won’t be on as tight.
Remember those visible edges we were talking about? We definitely had some as you can see here. Some quick work with scissors or a blade will take care of that real quick.
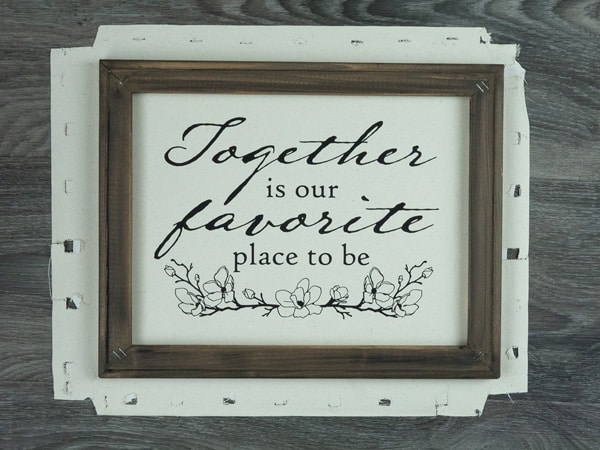
And we’re finished! Now you have a wonderful piece to put up in your home or to give as a gift. Isn’t it just lovely?
Questions? Comments? Message us over on Facebook and we’re happy to help! If you use this file and you upload pictures, please tag them #lovewhatupress! We always love seeing what you make with our products.
We hope this has been helpful and informative. As always,
Lovewhat you press! ®
Like this blog post? Share it with friends!
Subscribe to our Mailing List
Want to be in the know about our latest products and colors? Sign up for our mailing list!