Creating a Custom Backpack
A new school year, a new you! Create a custom backpack using HTV with this handy how to.

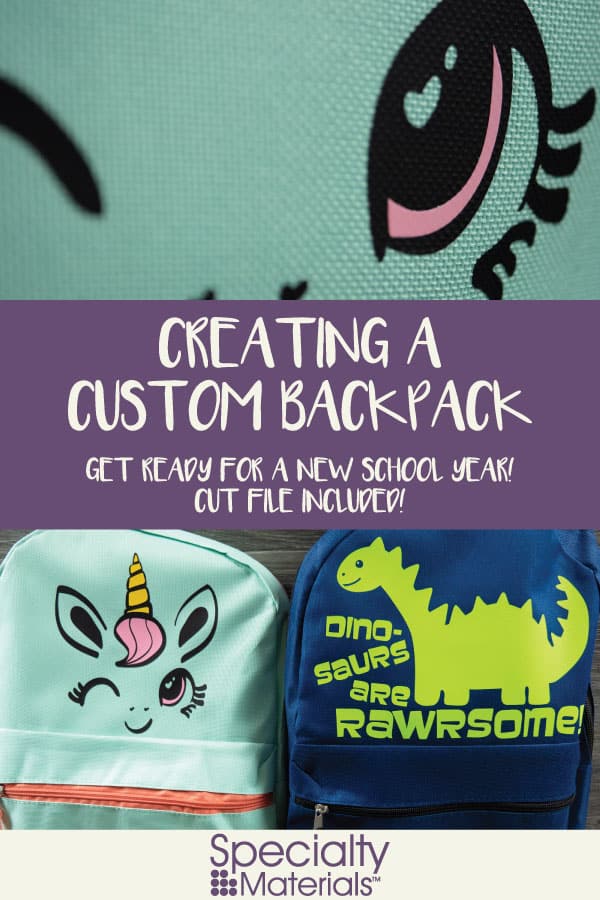
It’s time to start looking to a brand new school year and with that comes brand new gear! One of the most important aspects of back to school is the backpack- they come in many different patterns and designs but there’s nothing better than something custom! Today’s blog post is going to show you how easy it is to do just that- press HTV on a backpack!
Creating a Custom Backpack
Skill Level: Intermediate
Supplies Needed:
- Backpack
- HTV (we used Reflection Decoration™ and ThermoFlex® Turbo)
- Heat Press
- Heat Press Pillow
- PTFE Sheet
- ThermoTape(optional)
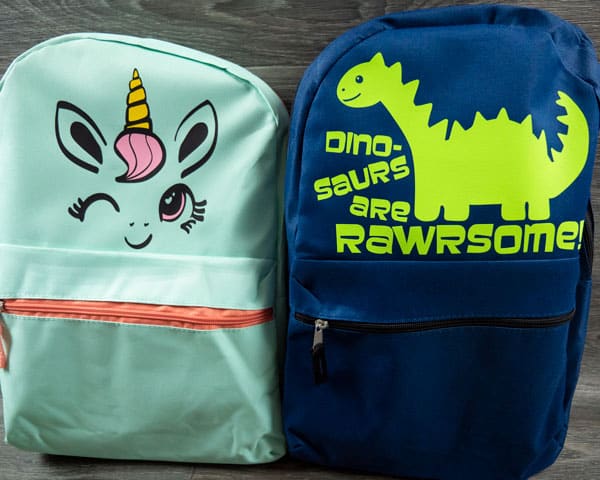
We’ve got two different backpacks and are going to do different styles. We’ve also got two different materials- Reflection Decoration™ and ThermoFlex® Turbo! In particular the Reflection Decoration™ is the new Neon Green. Reflection Decoration has small glass beads embedded in the HTV so it’s reflective! The newer colors in our Reflection Decoration™ line go on at a lower temp which make them PERFECT for this project. Some backpacks have heat sensitive liners so keeping your press quick and lower temp is going to be a good thing.
Step 1: Prepare Your Design
The first thing we’re going to want to do here pick out our design and make sure it fits onto our backpack. Grab your backpack and measure where you want to place your design- we decided to put ours on the upper half of the backpack. That’s because we wanted to avoid as many zippers as possible and it’s the more common place to put any customization. It’s also the most visible- we do want to show off our fun designs!
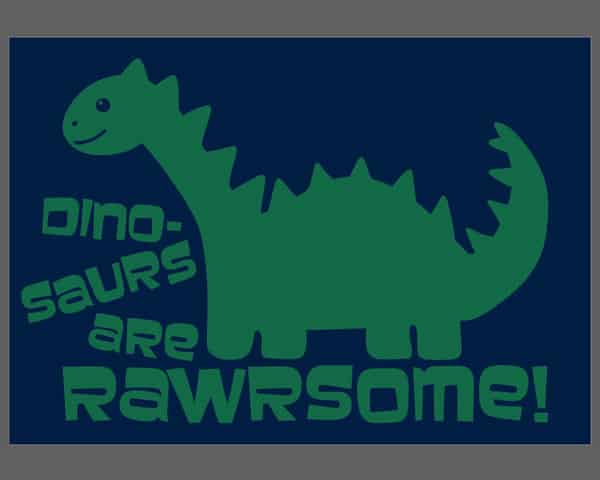
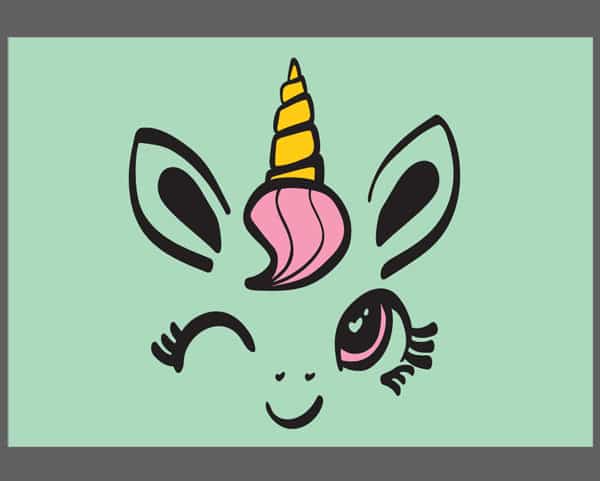
You’re going to want to measure usable space- try not to get too close to the edges of the backpack. For our backpacks, that gave us a 7″x10″ space to work with. What goes here is entirely up to you! We designed a fun dinosaur and unicorn for these spaces. If you’d like to use them too, we have free downloads for your on our Free Cut File page!
Once we have our design decided, that helps us pick the HTV we want to use.
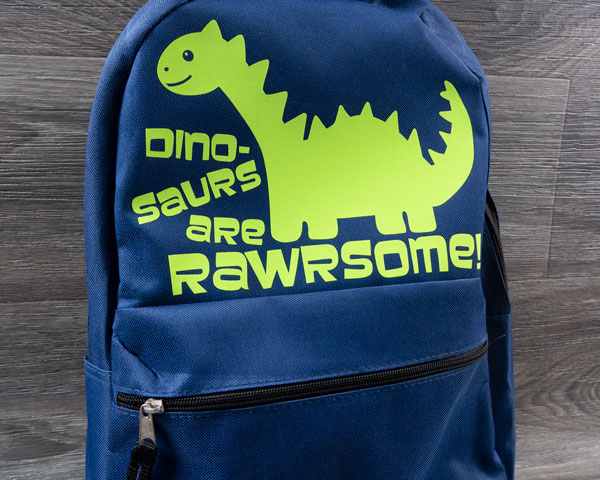
For the dinosaur, we decided on Reflection Decoration™– it gives a fun, reflective surface and goes on at a lower temperature. And the new Neon Green is such a fun, vibrant color!
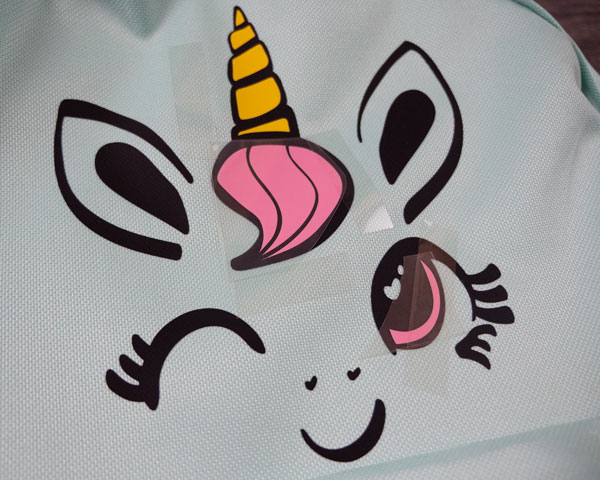
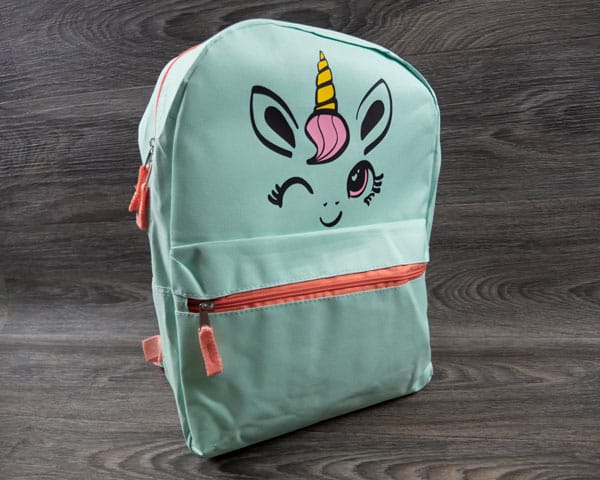
For the unicorn, we decided on ThermoFlex® Turbo– this cut file requires a few different presses. ThermoFlex® Turbo goes on at a lower temp and has a quick press, making it perfect for this project!
The most important thing here is what material the backpack is made of- if it’s compatible with our HTV, it’s good to press! You can always check what materials our HTVs go on by checking the application instructions. We do recommend a HTV that goes on at lower temperatures for backpacks with liners or plastic zippers.
Now that we have our design and our material, cut out your HTV and weed it. Once you have that done, let’s move on to the next step!
Step 2: Prepare Your Backpack for Pressing
When pressing the backpacks, the biggest problem you’re going to run into is how it’s built. The sides of backpack can leave you with an uneven pressing surface- that’s no good! How we fix this is a heat press pillow.
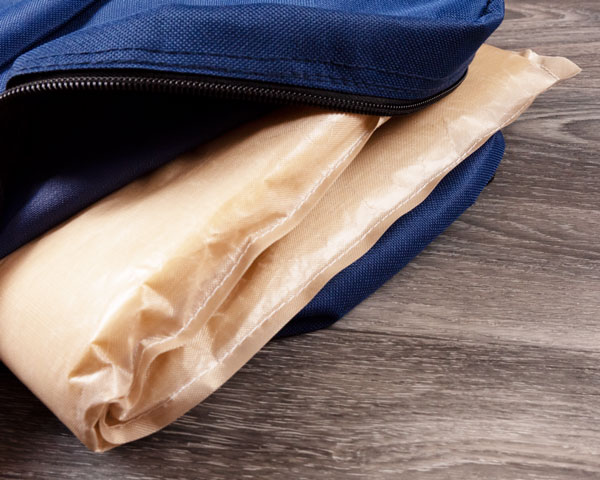
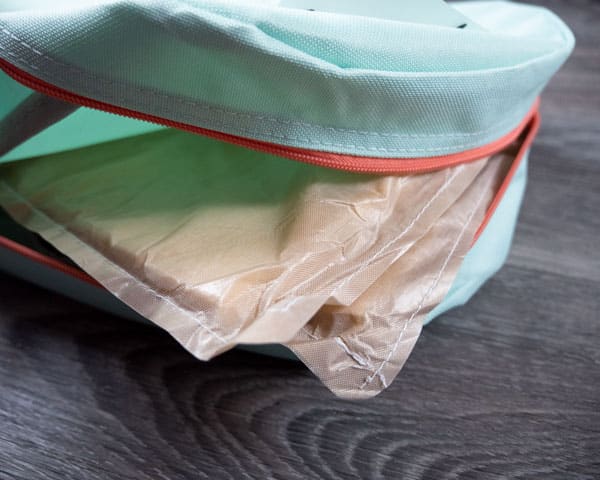
A heat press pillow is a wonderful tool in anyone’s toolbox. It’s excellent for helping to create an even pressing surface. Heat press pillows are often used in between shirts to prevent seams, zippers, and buttons from creating uneven surfaces.
In our case, we’re using the heat press pillow to fill out the backpack and create an even space to press on. It was too large for the backpack so we simply folded it in half! This also helped fill out the backpack better.

Now that’s a more even surface! With our backpack more smooth and even, we’re ready to press.
Step 3: Press the Design
It’s time to press our designs! Make sure your heat press is up to the correct temperature for your product- for ThermoFlex® Turbo, that’s
Temp: 270° F
Time: 5 sec
For Reflection Decoration™, that’s
Temp: 300° F
Time: 8 sec
While our press is heating up, let’s talk about using a heat press vs an EasyPress. We believe for this particular project you’re going to want to use a heat press. When using a heat press pillow with an EasyPress, it can be harder to get your desired pressure! The pillow stops you from getting as much pressure as you need. While it is possible with some can do attitude and some patience, we were able to get proper adhesion in one press with a heat press vs many presses with the EasyPress. If you’re using an EasyPress, be sure to take it slow and look for the texture of the garment in the material- that’s how you know you’ve gotten perfect adhesion. If you aren’t seeing that, cover and press again.
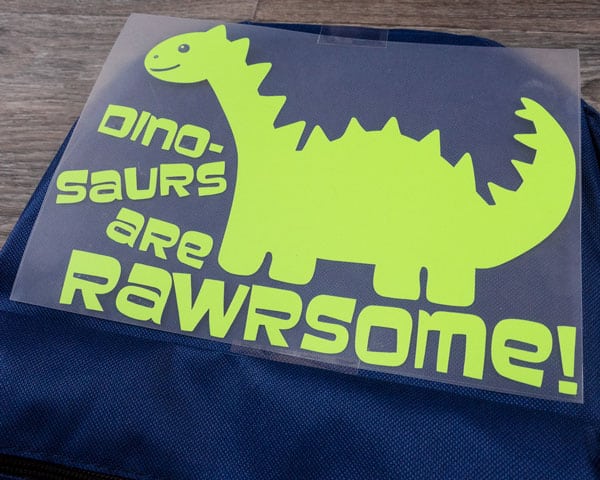
With that out of the way, let’s talk placement! As you can see we’re cutting it PRETTY close here with our dinosaur design. There’s not really any space for it to move around- we want it to stay right where it is! That’s why we’ve used ThermoTape– ThermoTape is heat press safe tape that helps keep your designs in place! It’s fabulous for layering or make sure your design stays RIGHT where you want it.
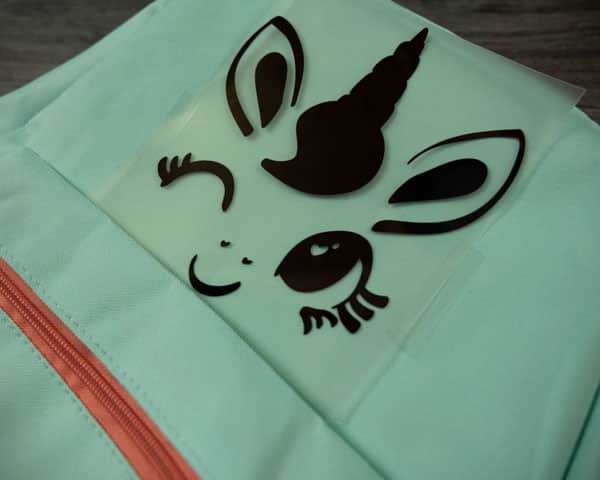
We used it on the unicorn design as well- the texture of our backpacks wasn’t allowing for our carrier to stick very well so to keep it in place we needed a bit of backup! It also comes in handy when layering as it keeps your layers EXACTLY where you left them.
Now when you’re pressings, be aware of where your zippers are if they’re made of plastic. We don’t want anything melting! When we were pressing, we found the heat press pillow kept the top zipper from direct contact with the press and we kept the bottom pouch zipper off the press area. This gave us no issues and the backpack works perfectly!
Look at that ThermoTape- perfect for keeping our layers in place!
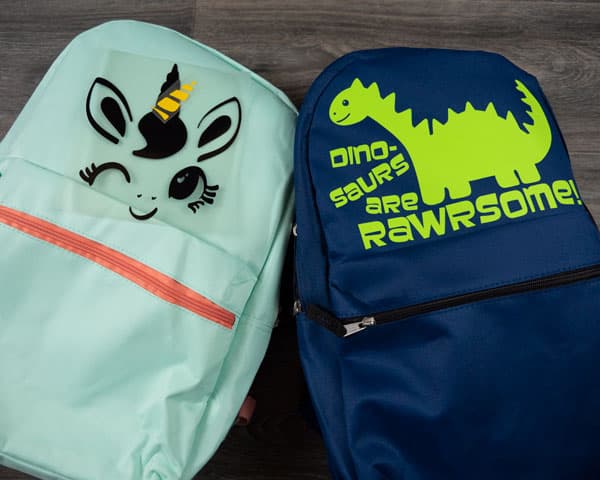
Take a close look at your material after pressing- you’ll be able to tell when you have perfect adhesion by looking for the backpack’s texture. When you see it in the material, it’s perfect!
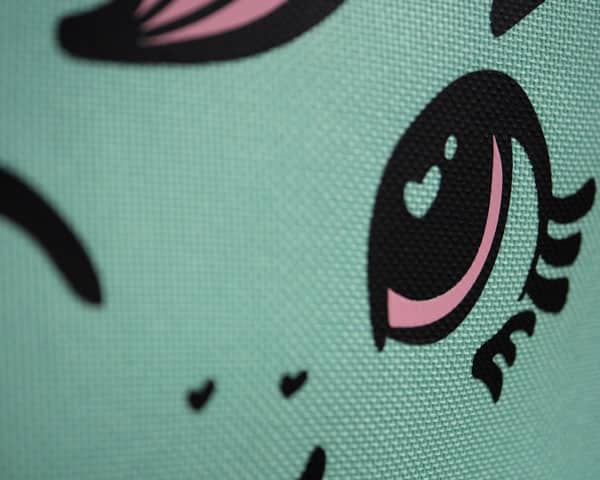
As you can see on the Black ThermoFlex® Turbo, we can clearly make out the backpack’s texture. There’s a hint of it on the Medium Pink, but as it’s layered on top of the Black that’s what we’re looking for.
And we're done!
Wasn’t that super simple? By making a few adjustments to how we’d normally press on a shirt suddenly we can decorate a backpack!
This is perfect for a new backpack or maybe jazzing up an old one. The possibilities are endless- add a fun monster, your child’s initials, their favorite sport, a cute princess crown!
We hope you found this tutorial helpful and that soon you’ll be customizing your own backpack! Please let us know what you think by messaging us on Facebook. Customize a backpack using this tutorial? Tag your picture #lovewhatupress so we can see it! We might even feature it on our social media.
We hope you give this a try! We know that with this fun tutorial and our amazing line of HTV you’ll
Love what you press! ®
Like this blog post? Share it with friends!
Subscribe to our Mailing List
Want to be in the know about our latest products and colors? Sign up for our mailing list!