Sublimation is a fantastic process that allows for boundless creativity. With this how-to, you’ll be adding custom images to your sublimatable HTV in no time!
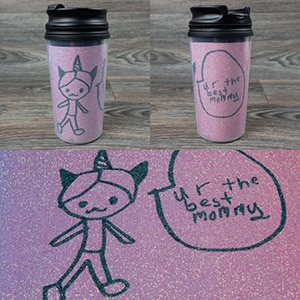
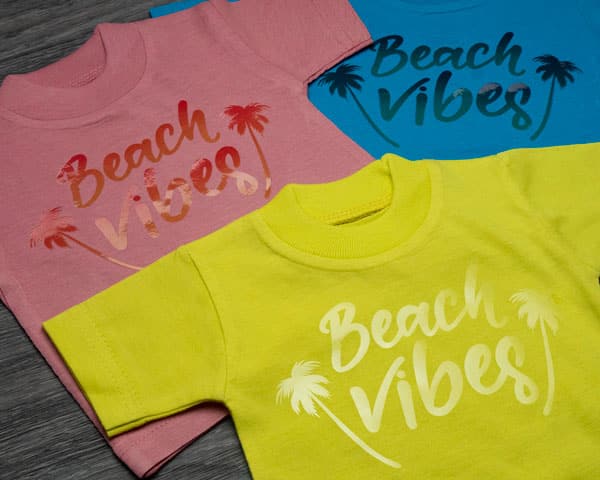
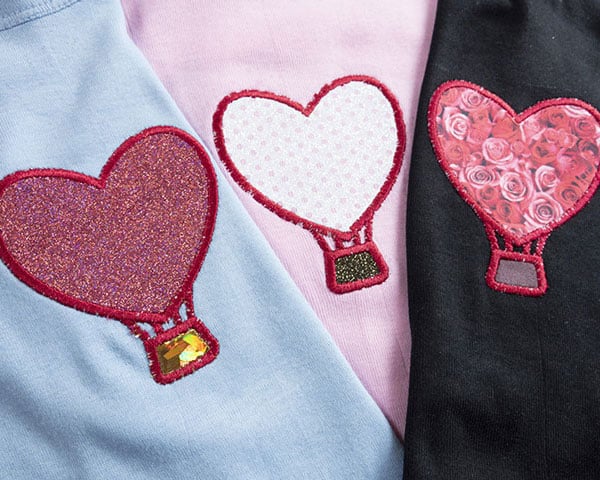
Sublimation is a fantastic process that allows for boundless creativity. With sublimation, you can create custom looks that weren’t possible before. It may sound like a complicated process, but never fear! It’s easier than it looks and before you know it, you’ll be a sublimation expert. We’re even going to show you two different ways to sublimate! Check out some projects we’ve completed with sublimation!
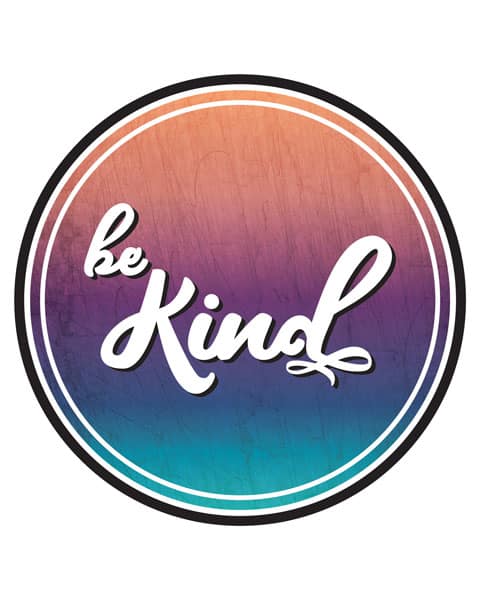
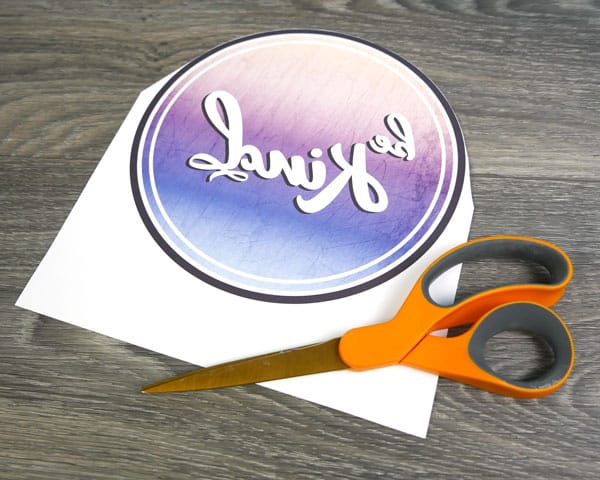
To start with sublimation, you’re first going to need an image you want to sublimate. Sublimation all comes from being able to take an image from your computer to your vinyl, so we need to begin here! People sublimate a wide variety of images- it can be your kid’s favorite character, a family photo, maybe a logo that’s got gradients. If you’re not sure what to start with, we’ve got an easy sublimatable file for you! Our Be Kind image is simple and perfect for practicing sublimation. It’s also free! Feel free to follow along by downloading this file. It comes with the image and the circle, already sized to be cut on your sublimatable HTV. The circle comes in both Studio3 and SVG files, so they’re perfect for your craft cutters!
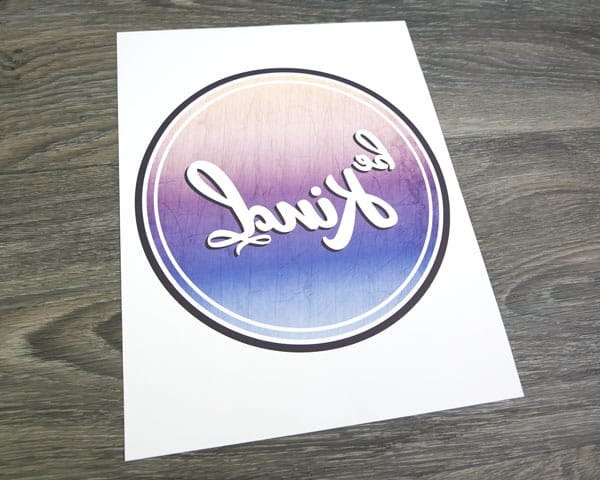
When you’re printing your picture for sublimation onto HTV, always make sure to flip the image. It needs to be the opposite of how you want it to look on the shirt. Think of it this way- you flip your HTV before cutting so it reads right on the shirt. Same thing here! Once you have your image printed, it’s time to cut your vinyl.
Step 2: Cut Your HTV
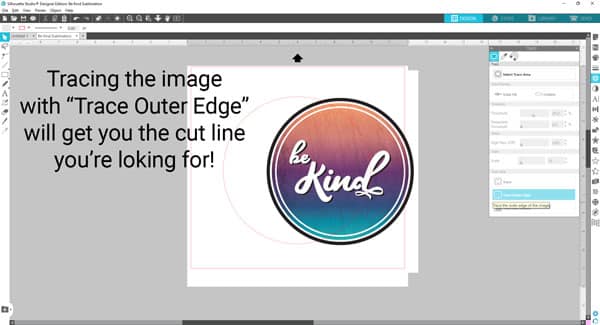
Now that we have our image printed, it’s time to cut our vinyl. How do we get our cut file from our image you may be asking? That’s easy! We’re going to trace the outside of the image and take it in just a little bit. Many programs will have a “Trace” function- in Silhouette Studio there’s the Trace panel, in Adobe Illustrator there’s Image Trace. The most important thing is to make sure the image sized EXACTLY how it’s going to print- otherwise your edges won’t line up correctly. The sublimation paper we’re using is 8.5″ x 11″, so we need to make sure our image fits perfectly onto that piece of paper. We want to give it some space on the side, so our Be Kind image is 8″ x 8″. We kept this design to a simple shape- the circle! We recommend making your design out of simple shapes as it makes it easier to line up the image. We’ve already got the cut line figured out for you in the Be Kind sublimation files download so you have nothing to worry about.
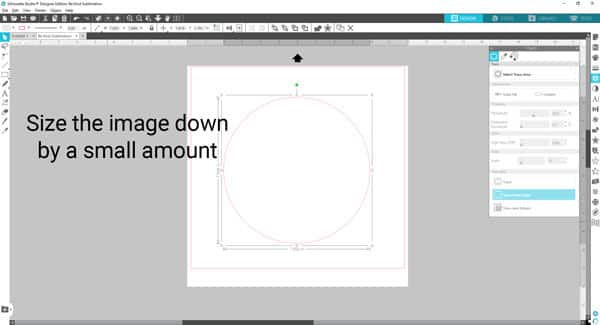
Once you have your cut line, size it down by just a little bit. The reason we’re doing this is to minimize the amount of blank space after pressing the sublimation paper to the HTV. It will also give you some wiggle room when lining it up! Here we went from 8″ x 8″ to 7.95″ x 7.95″. We’re not looking for a BIG size change, just a very small one.
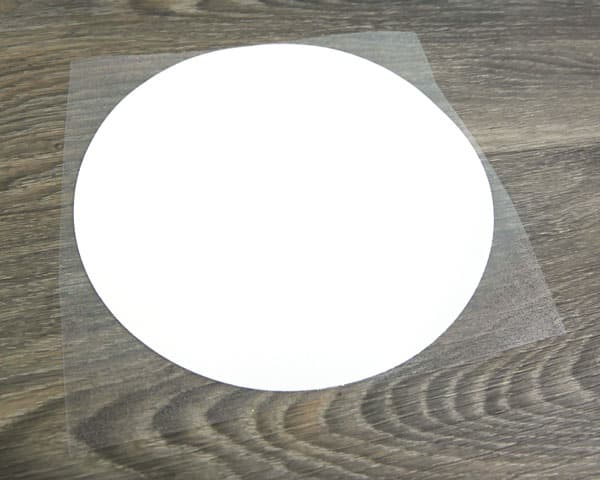
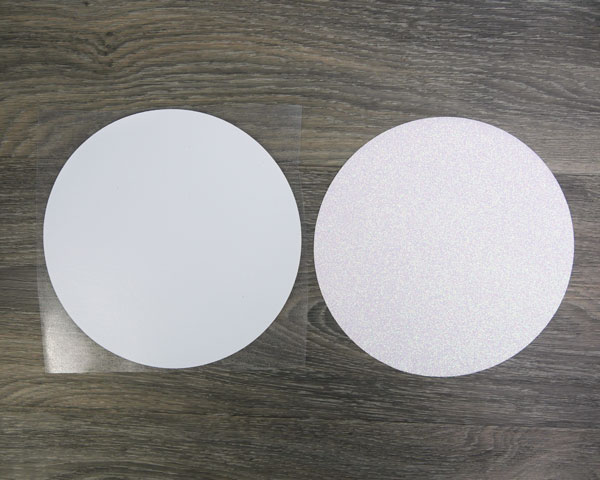
For this example, we’ve got Rainbow White GlitterFlex® Ultra cut in our circle. We’ve cut two and kept one on the carrier because we’re about to show you two different ways to sublimate on HTV! Both ways are valid so experiment and little and see what process works best for you. The two ways you can sublimate is by pressing the material on the shirt and then sublimating or sublimating and then pressing the material onto the shirt.
Sublimate After Pressing Onto Shirt
Step 3: Press Your Vinyl
In this method, we’re going to sublimate after we’ve pressed our material onto our shirt. This is pretty similar to how you make most of your shirts- you have your material on its carrier and you press according to the pressing instructions. For GlitterFlex® Ultra, those instructions are
Temp: 320° F
Time: 7-8* sec
*Now please note! We’re pressing for about half the recommended time as we’ll be sublimating on it later. We don’t need the full press right now. Basically, make sure it’s secure in place before removing the carrier. This HTV is a warm peel, so once the shirt is out of the dryer warm, peel it off and get ready for step 4!
Step 4: Sublimate Your Vinyl
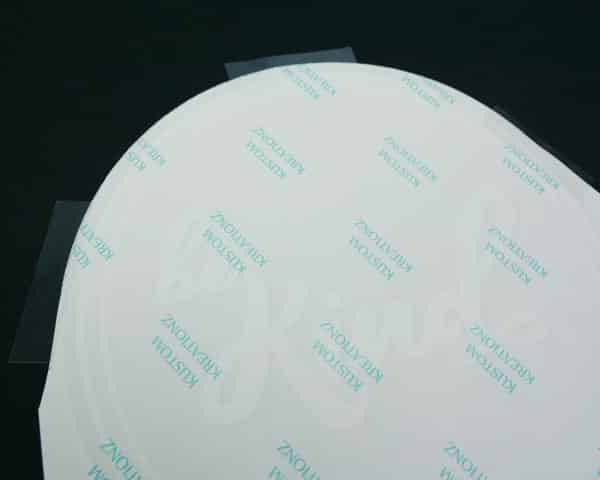
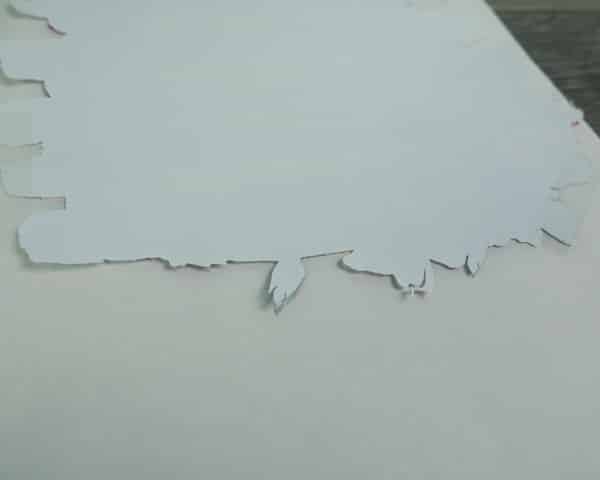
Now’s the time to grab the sublimation paper you printed on in step 1. When you’re sublimating on an already pressed shirt, it’s best to cut near the edges so it’s easier to line up. If you have a simple shape like this one, it’s okay to only cut along about half the edge. If it’s a complicated shape, we’d recommend making sure you cut along some of the more interesting shapes so it’s easier to line up.
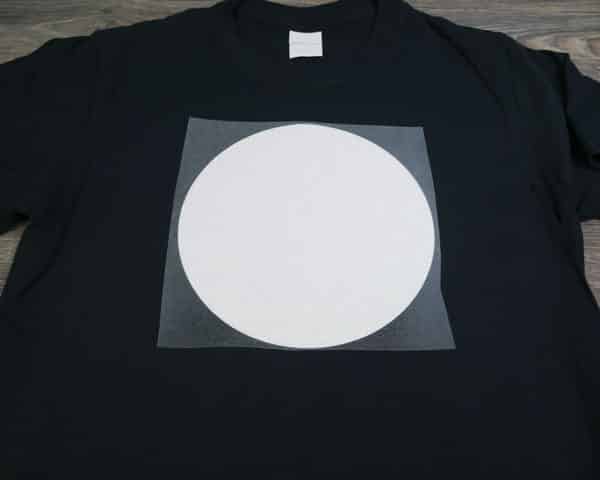
Now that we’ve got our sublimation paper cut, we’re going to place it on our pressed HTV.
Turn the sublimation print color side down and line it up with the vinyl. Taping down the edges of ThermoTape helps guard against shifting while pressing.
Time to turn up your press! Set your press to
Temp: 375° F
Time: 30 sec
For more vibrant prints, you can go all the way up to 390° F!Once your press is up to temp, cover your design with PTFE and press. After your press, remove the sublimation sheet and any ThermoTape. Voila! Your have a sublimated design!
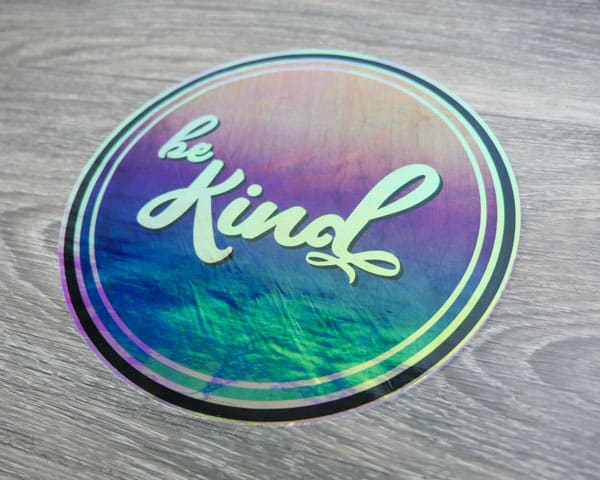
As you can see here, we have a wonderful and colorful press. But hold onto your horses, we’re not done yet! This isn’t the only way to sublimate onto vinyl- take a look at those edges. The circle isn’t quite sitting right in the middle is it? You can get a more precise sublimation by sublimating BEFORE you press.
Sublimate Before Pressing Onto Shirt
Step 3: Sublimate Your Vinyl
Let’s take it all the way back to step three in this method! This time, we’re going to sublimate before we’ve pressed our material onto our shirt. Remember the picture from earlier, showing the Rainbow White GlitterFlex® Ultra both on and off the carrier? The one that was peeled off the carrier is for this step! The reason we peel it off is because we’re going to sublimate directly onto the vinyl BEFORE we press it onto the shirt. It can be easier to line up your design when you’re placing the HTV on the sublimation paper.
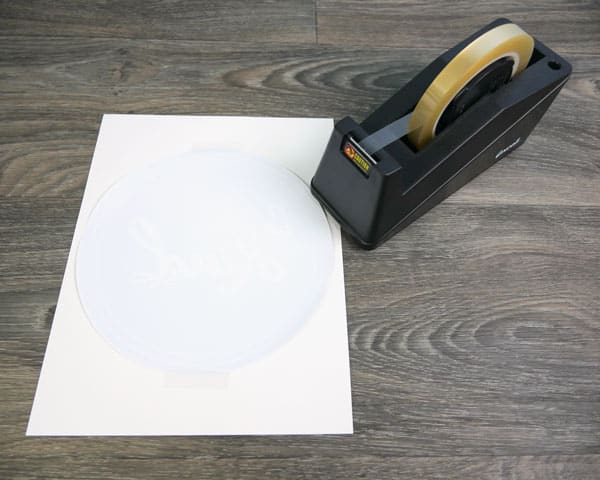
Take your printed sublimation sheet and place the HTV on it, adhesive side up. You want to be sublimating on the site that will show up on the shirt. In this case, this means the glitter side goes down. Since you’re placing the material on the sublimation paper, it’s much easier to line things up correctly! The other wonderful thing about sublimating first is that if your design goes over the edges, you won’t end up with any sublimation ink on your shirts. We recommend using ThermoTape to keep everything in place once it’s exactly where you want it.
Since we’re sublimating first, get your heat press up to
Temp: 375° F
Time: 30 sec
Remember, you can go as high as 390° F if you want stronger color! We recommend placing the glue side of the material down on some PTFE or a piece of transfer tissue. We especially recommend transfer tissue if your sublimation print goes over the edge of your HTV- that ways the sublimation inks will go on the transfer tissue for easy removal.
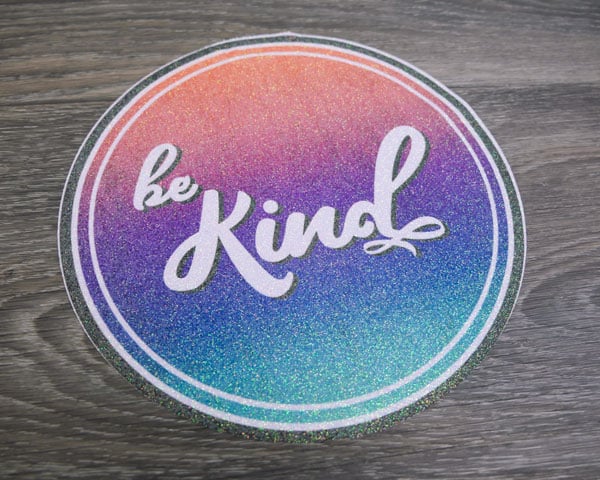
Here’s our Rainbow White GlitterFlex® Ultra after being sublimated- looking great! Next is our last step- pressing on the shirt.
Step 4: Press Your Vinyl
The next step here is to press your sublimated HTV to your shirt. Place it where you’d like and press according to the material’s instructions. For GlitterFlex® Ultra, that’s
Temp: 320° F
Time: 12-15 sec
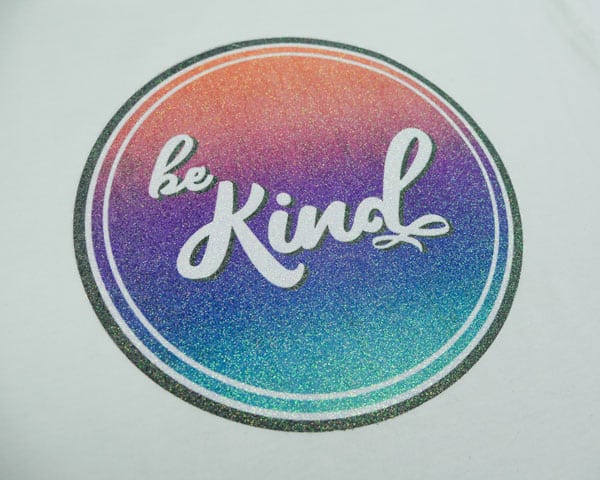
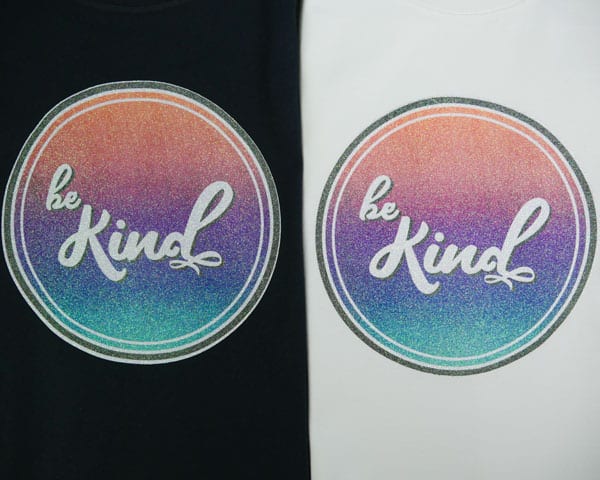
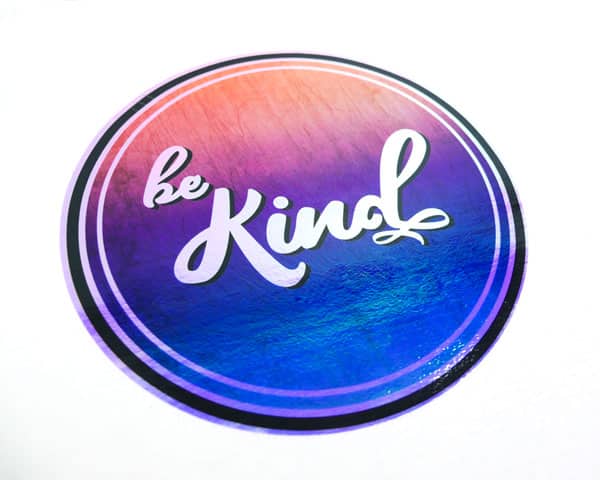
And here we have our final product! You may have noticed a bit of white around the design after the GlitterFlex® Ultra was sublimated, on a white shirt it becomes unnoticeable.
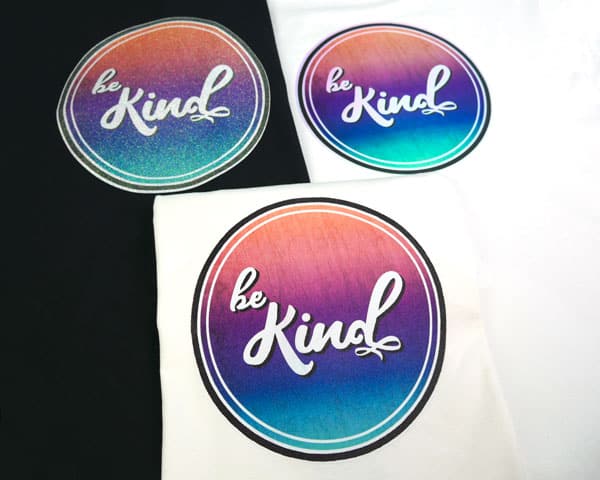
Here’s a comparison of both techniques- it’s clear no matter what route you take, the end result would be stellar! You can even take these techniques and use them on more complicated designs like below.
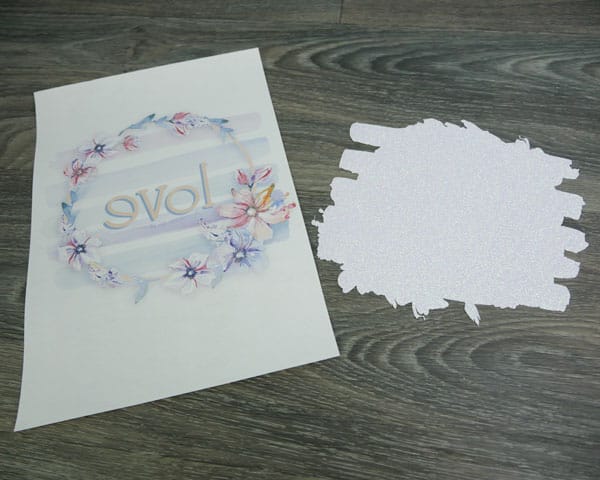
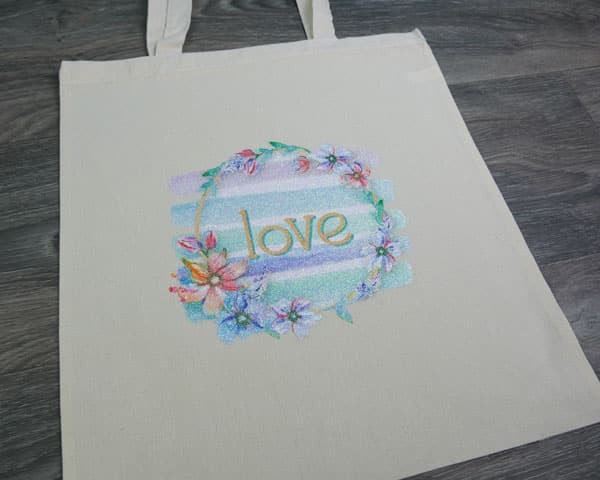
Here we have a more complicated design but we’re going to use the same steps like we did earlier!
We’re going to line up the material to the printed sublimation sheet and use ThermoTape to keep it all in place.
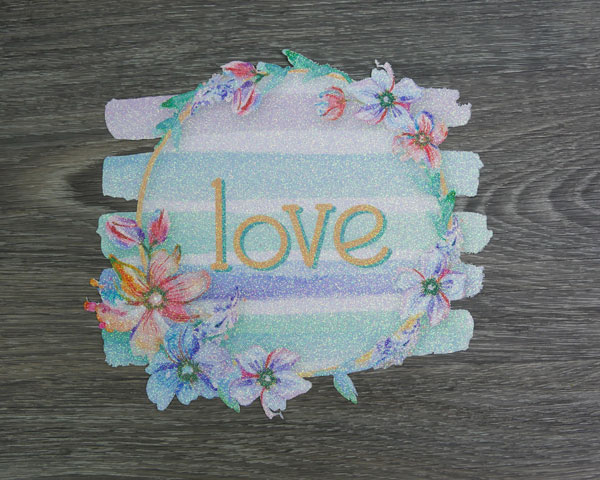
Sublimate the material, press onto a cute tote bag, and voilà!
Sublimation works on a wide variety of materials- we have materials just for sublimation but some of our HTVs can be sublimated on too. Those include:
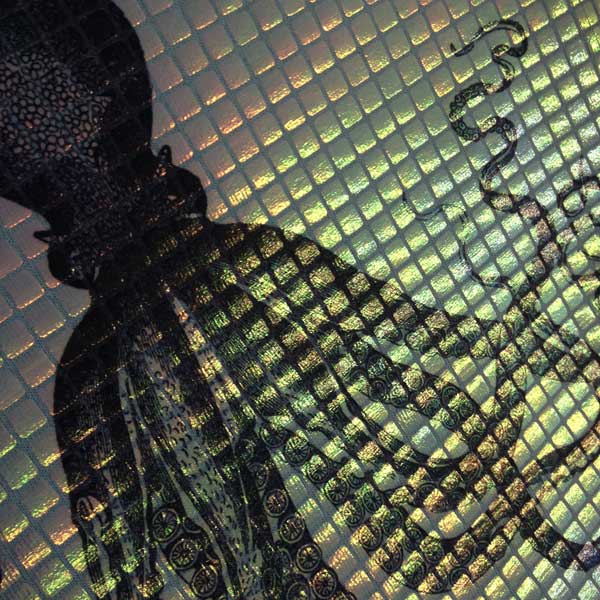
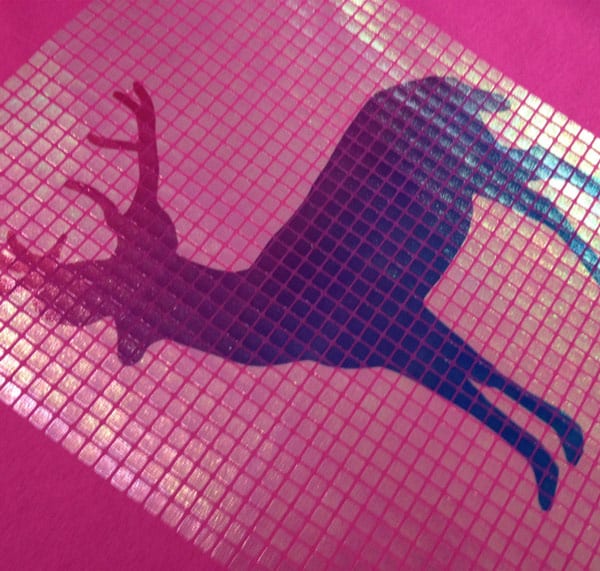
Here we used the same sublimation file but this time on Blue DecoFilm® Brilliant Chameleon. This HTV sublimates well and adds a really fun iridescent shimmer!
Questions? Comments? Message us over on Facebook, Instagram, or right here on the website and we’re happy to help! If you use this file and you upload pictures, please tag them #lovewhatupress! We always love seeing what you make with our products.
We hope this has been helpful and informative. As always,
