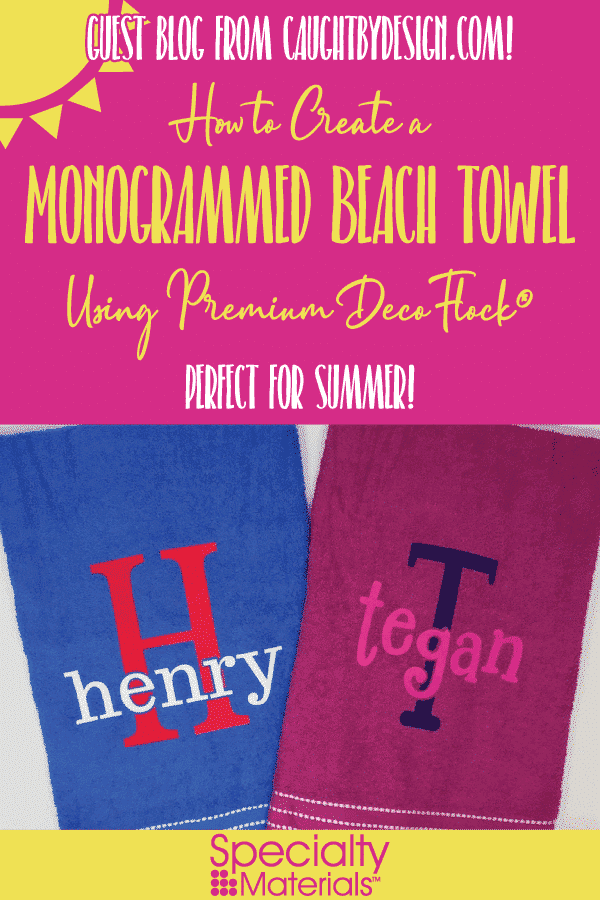
How to Create a Monogrammed Beach Towel Using Premium DecoFlock®
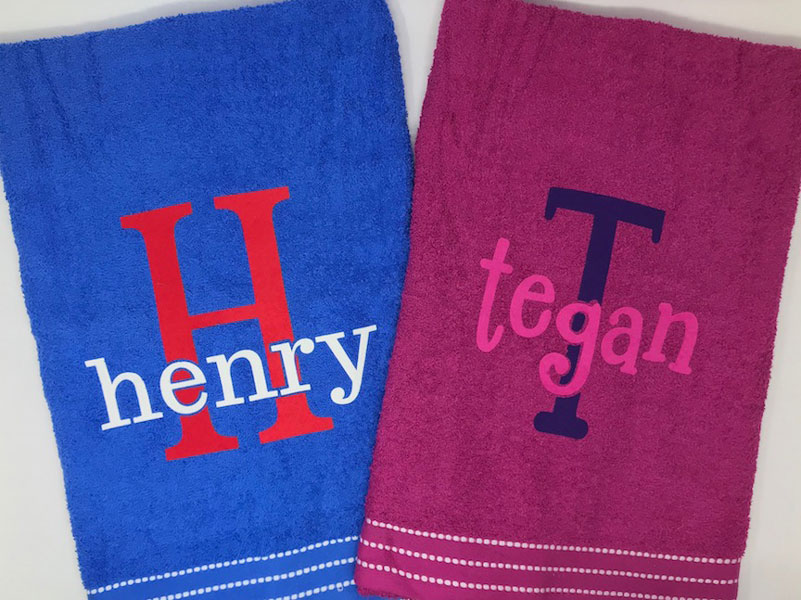
Summer is almost here and that means plenty of pool time and fun in the sun! And what could be more fun than your own monogrammed beach towel made with Premium DecoFlock®?

Today’s blog post is a guest post from Lycia from caughtbydesign.com. We’re excited to bring you this wonderful how to- it’s perfect for summer! Thank you Lycia for sharing your knowledge with us. With that said, let’s get to learning!
Summer is almost here and that means plenty of pool time and fun in the sun! And what could be more fun than your own monogrammed beach towel made with Premium DecoFlock®??? With the help of Silhouette Studio and your Silhouette machine, you can create one yourself in no time at all!
I chose flocked heat transfer vinyl for this project because it doesn’t have the slick feel of regular HTV. It’s softness and velvet-like texture make it perfect for towels of any kind, but especially one you’ll be using for lying around at the pool or on the beach.
Ready to see how easy it is? Grab a towel and some DecoFlock® and let’s get started!!!
How to Create a Monogrammed Beach Towel Using Premium DecoFlock®
Skill Level: Beginner
Supplies Needed:
- Silhouette Studio
- Silhouette Cameo or Portrait
- Beach Towel (100% cotton terrycloth)
- Premium DecoFlock® in two coordinating colors
- Heat Press
- PTFE Sheet
- High-temp Tape like ThermoTape(optional)
Step 1: Determine the Size of the Monogram
Decide how large you want your monogram to be. My towel measures 27 inches x 58 inches and I’m placing my monogram in the bottom third, so I want the monogram to be about 8 inches tall.
Step 2: Type the Text
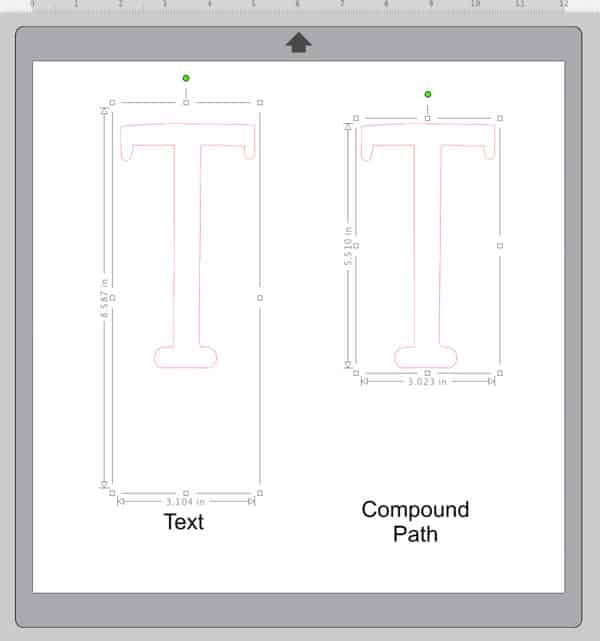
Open a new page in Silhouette Studio. Using the Text tool, type a single letter monogram in your choice of font. Size it appropriately. (Hint: To see the exact size of your letter, select the text, right-click, and choose Make Compound Path. This will change the text to a graphic image and the bounding box will show the exact dimensions without any excess white space around the letter.) Fill the letter with color.
Now type out the name in either the same font or a coordinating one. For the pink towel, I used the Dazzling font from the Silhouette Design Store (Silhouette Design Store ID 154582). For the blue towel, I used Pharmacy for the single letter monogram and Trocchi for the name. These fonts can be found on dafont.com and fontsquirrel.com respectively.
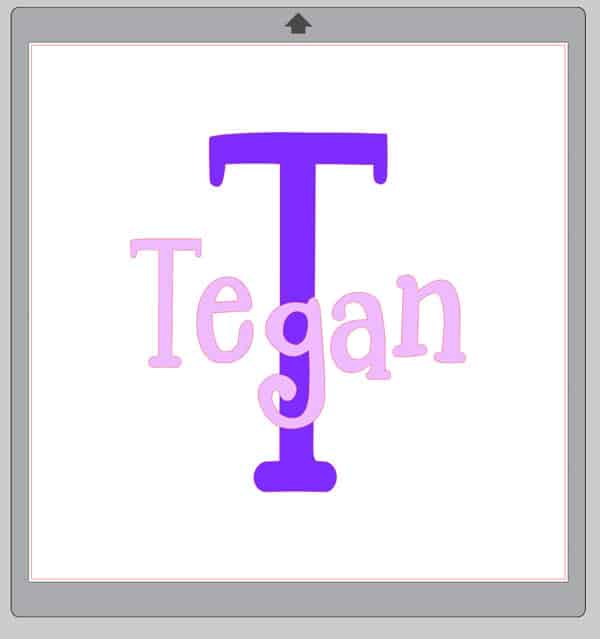
Size the name as desired and fill with color. If you are using a script font, be sure to weld the letters together. Center the name over the single letter monogram.
Step 3: Create the Monogram Design
Note: It’s very important that you have everything sized and aligned properly before this next step!
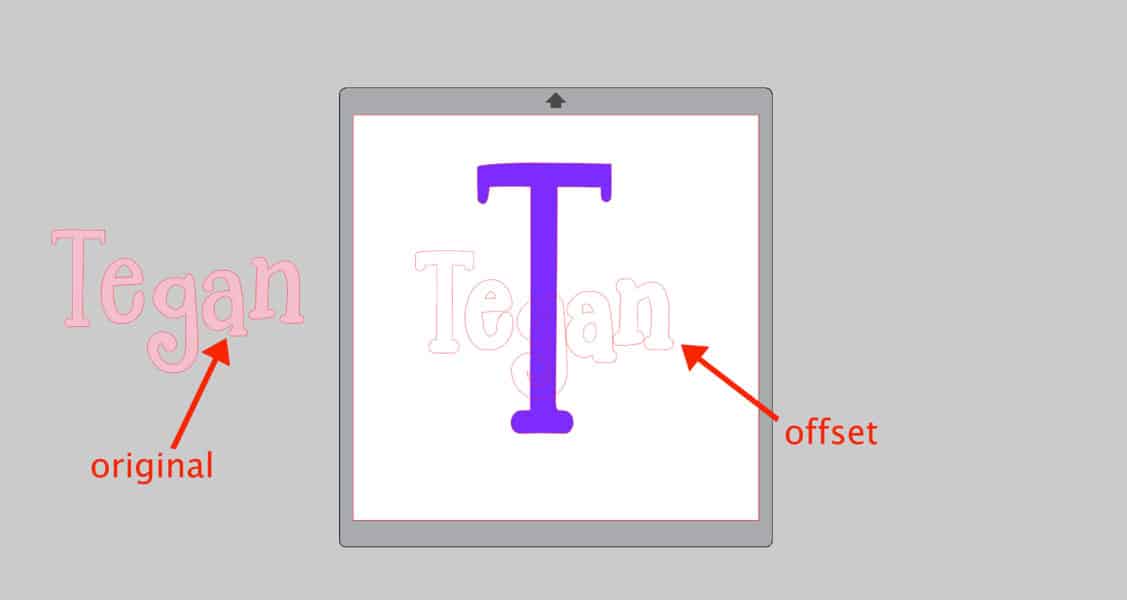
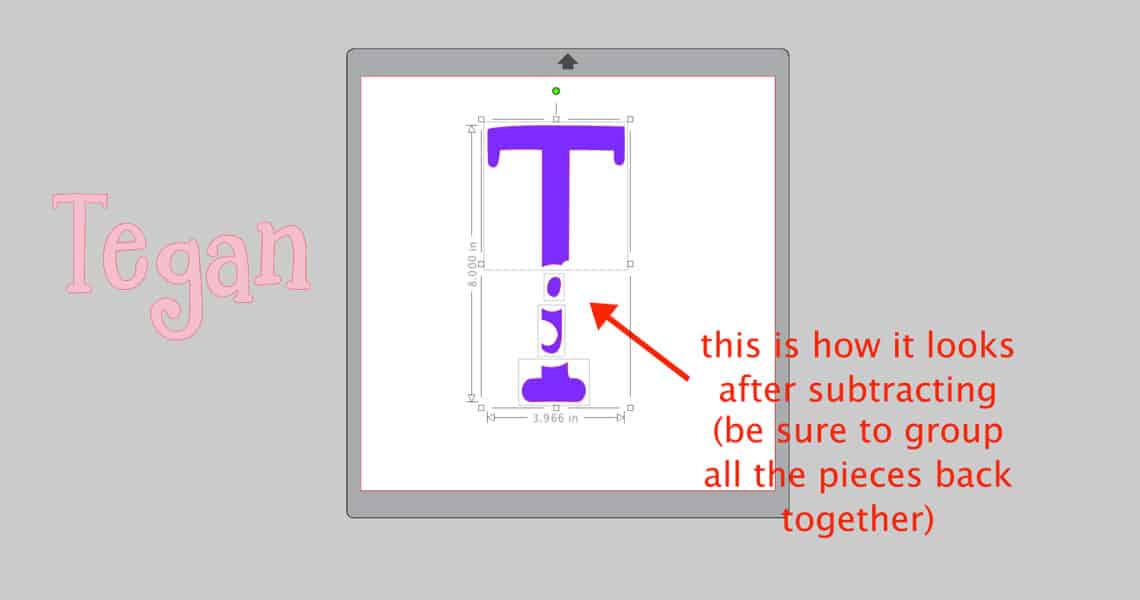
Select the name and make a small (0.08 inch) offset. Move the text for the name off to the side, then select both the offset and the single letter monogram and choose Object->Modify->Subtract.
The offset will be cut out of the single letter monogram. Be sure to group all the pieces of the single letter monogram back together after subtracting.
Size the name as desired and fill with color. If you are using a script font, be sure to weld the letters together. Center the name over the single letter monogram.
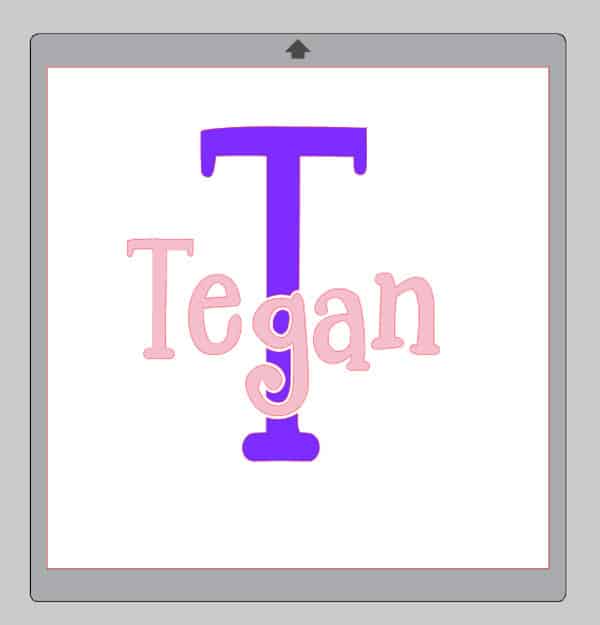
Move the name text back into position and you will see a small gap between the name and the single monogram. This will make the name stand out a bit more in the design.
Step 4: Perform a Test Cut
Premium DecoFlock® is cut with the carrier sheet (shiny side) DOWN, either on the roll or on a mat. Be sure to choose the correct Mat/No Mat setting in Silhouette Studio for the method you choose.
Load the material into your Silhouette, click on the SEND tab, and choose Heat Transfer, Flocked from the material type presets. The settings for this material are Blade=3, Speed=5, Force=33, Passes=1.

Perform a test cut by clicking on the grey button at the bottom right of the Send panel that says TEST. This will cut a small triangle inside a square in the upper left-hand corner of your material. Weed out the vinyl from inside the square. If the triangle remains intact, you know that your cut settings are correct and you’re ready to move on. If not, adjust the settings and perform another test cut until you get the desired results.
Size the name as desired and fill with color. If you are using a script font, be sure to weld the letters together. Center the name over the single letter monogram.
Step 5: Cut the Design
When you’re ready to cut the design, the first step is to MIRROR, since we will be cutting with the carrier sheet down. The best way to do this is to right-click on the design and choose Flip Horizontally. This action mirrors the design in place rather than mirroring the entire mat.
To cut:
- Load the DecoFlock® in the color you are using for the single letter monogram.
- Move the name off to the grey holding area.
- Position the single letter monogram design in an area on the screen that corresponds to where the design will be cut from the DecoFlock®. If your piece of heat transfer vinyl is larger than needed for the design, use the Draw a Rectangle tool to draw a weeding box around the monogram.
- Click on SEND. The software will ask if you want to mirror the design. Since we have already mirrored the design in an earlier step, click on Send As-Is.
- Once the monogram is cut, unload the first color of DecoFlock® and load the next color.
- Move the single letter monogram off to the grey holding area.
- Repeat steps 3 & 4 for the name.
Step 6: Weed and Apply
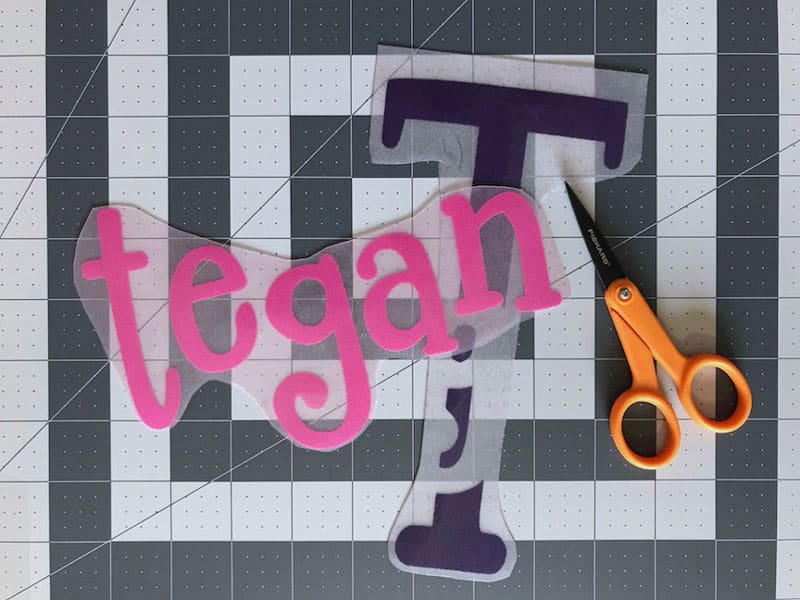
Weed away the excess heat transfer vinyl and trim the carrier sheet close to the design.
Preheat your heat press to 320°F. (Premium DecoFlock® has an application temperature of 320°F to 340°F.)
Place the single letter monogram onto the towel. Secure with high-temp tape if desired. Cover with a PTFE sheet.
Size the name as desired and fill with color. If you are using a script font, be sure to weld the letters together. Center the name over the single letter monogram.
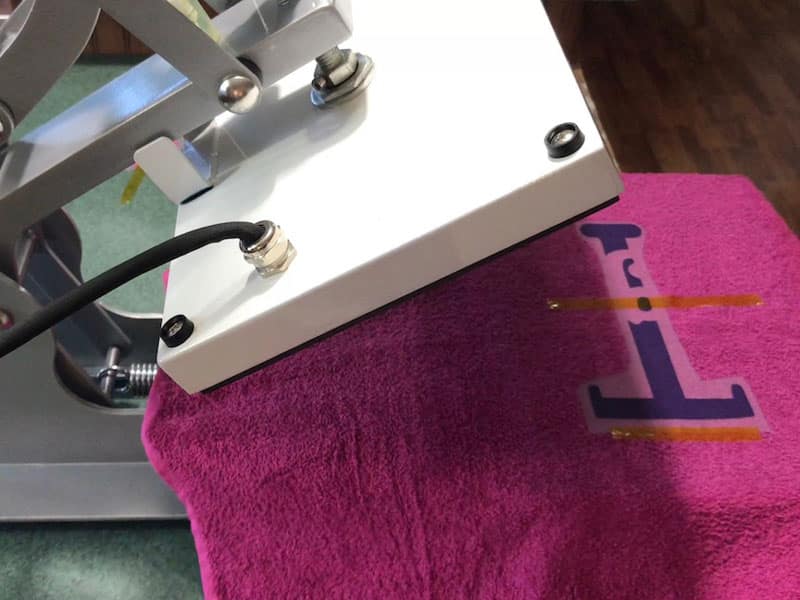
Perform a “two-second tack” by pressing the monogram for only 2 seconds using even, medium pressure. Allow the DecoFlock® to cool and then slowly remove the carrier sheet. If the DecoFlock® is not adhered, re-cover with the PTFE sheet and press for an additional 2 seconds before trying to remove the carrier sheet again. (At this point, you need the DecoFlock® to be only lightly adhered to the towel.)
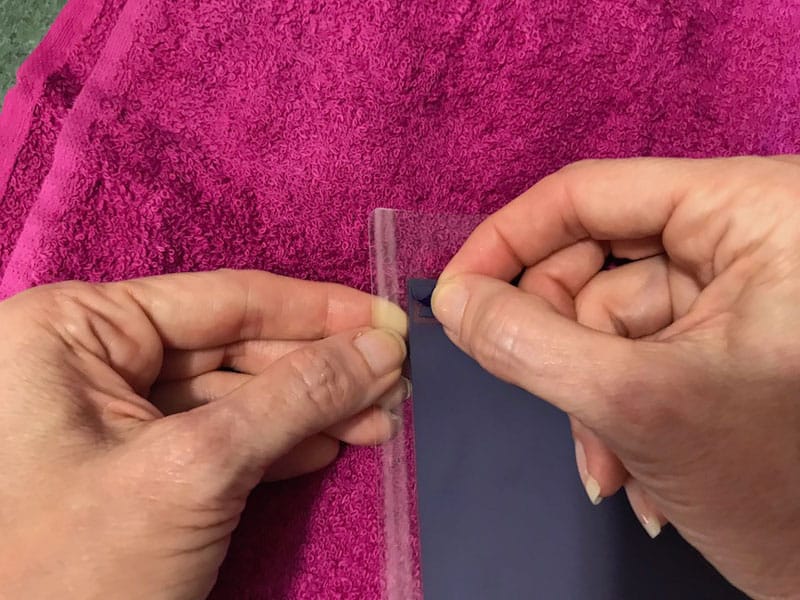
Place the name on the towel, securing with high-temp tape if desired. Pay close attention to any areas of the carrier sheet that overlap the single letter monogram, as they will leave a crease in the DecoFlock®.
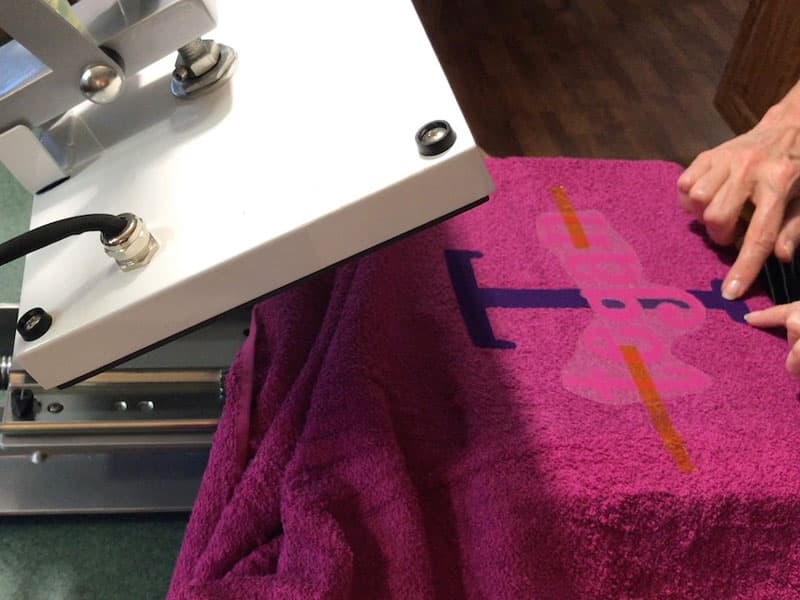
Cover the entire design with a PTFE sheet. Press for 10 seconds. Allow the DecoFlock® to cool and then slowly remove the carrier sheet. Congratulations, your towel is now done!
I hope you found this tutorial helpful and that you’ll have fun making your own monogrammed beach towel. With the help of your Silhouette machine and great products like Premium DecoFlock®, it’s easy to
Love what you press! ®
About the Author
Lycia Evanoff bought her first Silhouette in 2016 and it was “love at first cut”! As a licensed independent Silhouette instructor, she shares that love through workshops and hands-on classes for groups and individuals as well as projects and tutorials on her blog at caughtbydesign.com.
Would you like to be a guest contributor to our blog? Please send a link to your website and your idea for a blog post to elyse@specialtymaterials.com for consideration. Please note- you will need an active blog or website as well as a familiarity with our products to be considered. Thank you!
Disclaimer: Specialty Materials & Digital Decoration, LLC is not associated with Silhouette America.
Like this blog post? Share it with friends!
Subscribe to our Mailing List
Want to be in the know about our latest products and colors? Sign up for our mailing list!