Father’s Day is coming up soon! It can be hard to come up with the perfect gift, but never fear! We have a fun DIY shirt he’ll love. 😊
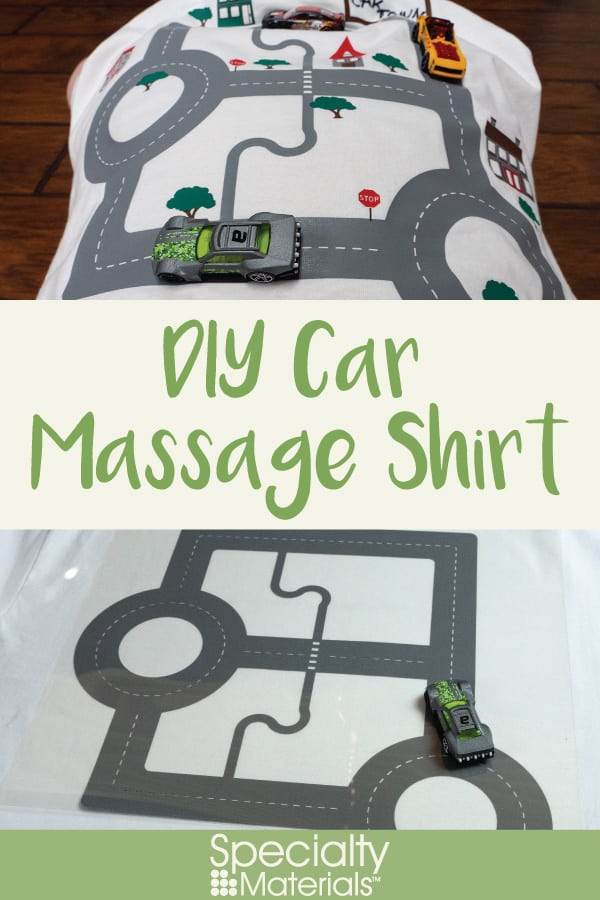
What’s great about this car shirt is it goes on the back, letting Dad lie down and relax while the kids give him a “massage” by running cars all over the road! Win/win really. And it doesn’t have to be just for Father’s Day- it’s a great gift anytime.
First of all, go download the Car Massage Shirt PDF! It’s free over on our Free Cut Files page. What are you waiting for, it’s free!
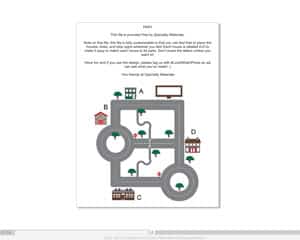
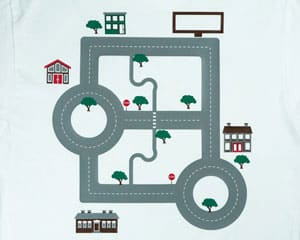
The first page gives you a sample layout for the shirt. The fun thing about this design is you can easily place the building, trees, and stop signs wherever you like! Customize it to your heart’s content. The sample layout also labels the houses. It makes organizing your cut and weeded files a cinch!
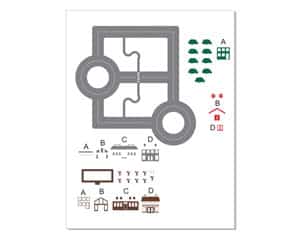
The second page has everything grouped by color. I designed this project by using four colors to cut down on the different types of material. You can use more or less based on what you’d like to do! I recommend using Dark Grey, Red, Kelly Green, and Light Brown ThermoFlex® Plus for this project. I also designed this file assuming this would go on a white shirt. If you use a different colored shirt, beware! Your road and your houses will look a bit different.
Important note!
Make sure you measure your shirt and size the file accordingly! To fit both the rolls of ThermoFlex® Plus I wanted to use and the shirt, I kept my road at just under 14″ wide. If you use smaller widths of ThermoFlex® Plus, you’ll want to size it down. If you have a large roll and the shirt has room, size it up!
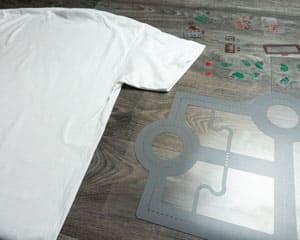
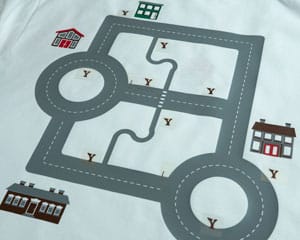
Once everything’s cut and weeded, group everything by letter. We’re about to get to the fun part- pressing!
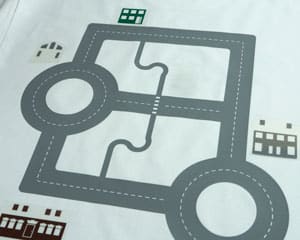
Step 2: Press Your Road
The road should be pressed first. This will give you a baseline of where to put the rest of your town.
Important note!
Now, we’re going to be layering quite a bit here, so I advise that you keep your presses short and at an overall lower pressure. The final press we’ll crank up the pressure so everything adheres well, but if you press at too high a pressure then you risk your adhesive coming out the sides and leaving a noticeable residue. If that happens, don’t worry! Rubbing a little adhesive removal gets it right off.
My recommendation for layering ThermoFlex® Plus is to press at
Temp: 330° F
Time: 5-7 sec
Please note this is going to be less time than a normal press- that’s because these layers will get more heat with the next few presses.
Step 3: Assemble Your Town
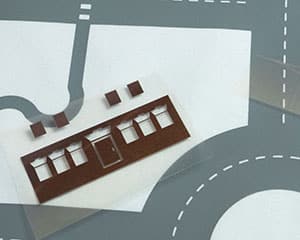
Separate the lettering from the house parts if you haven’t done so already. First, we need to place down the base for all the houses- that’s green for A, brown for C, and grey for B and D.
Give that a quick 5-second press, then onto the next layer! If you want to keep the total number of presses low, then I’d recommend placing the stop sign bases and the tree trunks on this next press.
After that, finish up the trees, houses, and stop signs and add your welcome sign. Voila!
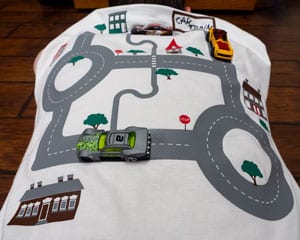
A completed car massage shirt! The welcome sign in the upper right-hand corner I left blank- get your littles to write or draw a custom message there for an extra thoughtful touch!
Questions? Comments? Message us over on Facebook and we’re happy to help! If you use this file and you upload pictures, please tag them #lovewhatupress! We always love seeing what you make with our products.
We hope this has been helpful and informative. As always,
Lovewhat you press! ®
Like this blog post? Share it with friends!
Subscribe to our Mailing List
Want to be in the know about our latest products and colors? Sign up for our mailing list!