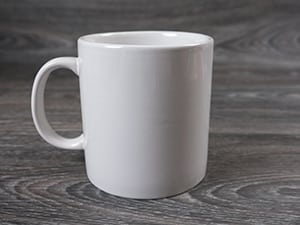
With Valentine’s Day coming up, you may be looking to make a cute gift for your Valentine. Why not show your love by making a cute custom mug? Everyone loves a handmade gift!
Start by measuring the space you want to use on the mug. The mug I have is large, so my design was about 3.5″ x 2.7″.
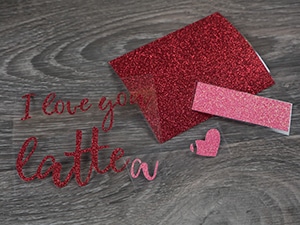
I used two colors here- this design looks lovely in one color but I love the combination of Red and Rainbow Red! If you want to use the same design yourself, it’ll be linked below.
Step 2: Cut and Weed Your Design
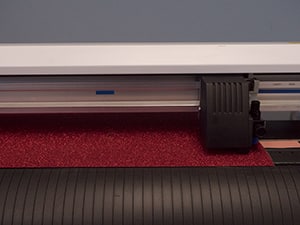
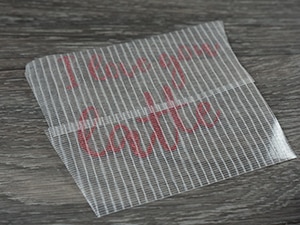
Once you have the design sized for your mug, cut our your Pressure Sensitive GlitterFlex® Ultra. Here we’re using the colors Red and Rainbow Red.
REMEMBER: Pressure Sensitive GlitterFlex® Ultra is cut right-reading – do not cut in reverse! Before cutting, always remember to do a test cut!
Once you’re done cutting and weeding, boom! We have our material ready to place on the mug.
Step 3: Position Your Design On The Mug
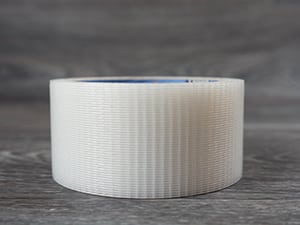
Here’s where that optional roll of duct tape comes in handy. Why the duct tape? It acts as a transfer mask. It’s not necessary- you can easily place your design by hand once it’s weeded. If you’d prefer to have it exactly how it is in your design, the duct tape maintains its positioning. It’s also a little easier than positioning it by hand- you just press it on and peel off the duct tape! You’ll want transparent duct tape as it lets you see where you’re positioning the material.
If you’re not using transparent duct tape, skip the next few steps. Simply peel your Pressure Sensitive GlitterFlex® Ultra and apply it to your mug.
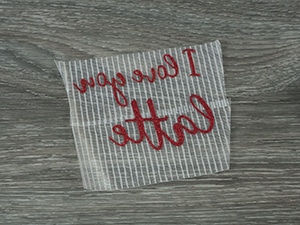
However, if you want easier and more precise placement, grab that duct tape! Cut enough of it to cover your design. You want to put the duct tape directly on the material side. Press down to ensure the duct tape sticks to your Pressure Sensitive GlitterFlex® Ultra.
Peel the carrier off- you’re left with the material and the duct tape like in the second picture.
Place your design onto your mug. See how the transparent duct tape makes it nice and easy to see where it’s going? Press down on the lettering to make sure it adheres to the mug. Gently peel the duct tape off the Pressure Sensitive GlitterFlex® Ultra and you have successfully placed your first layer! Repeat these steps with your second color.
Step 4: Reveal Your Gorgeous New Mug!
Boom! We have a completed mug! A creative, original gift ready for your Valentine. Look at you go, you creative force of nature!
Important to note:
Do NOT put Pressure Sensitive GlitterFlex® Ultra through the dishwasher. This is gentle handwash only.